Roop Unleashed Tutorial – Image and Video Face Swap AI

Introduction
Hello there and welcome!
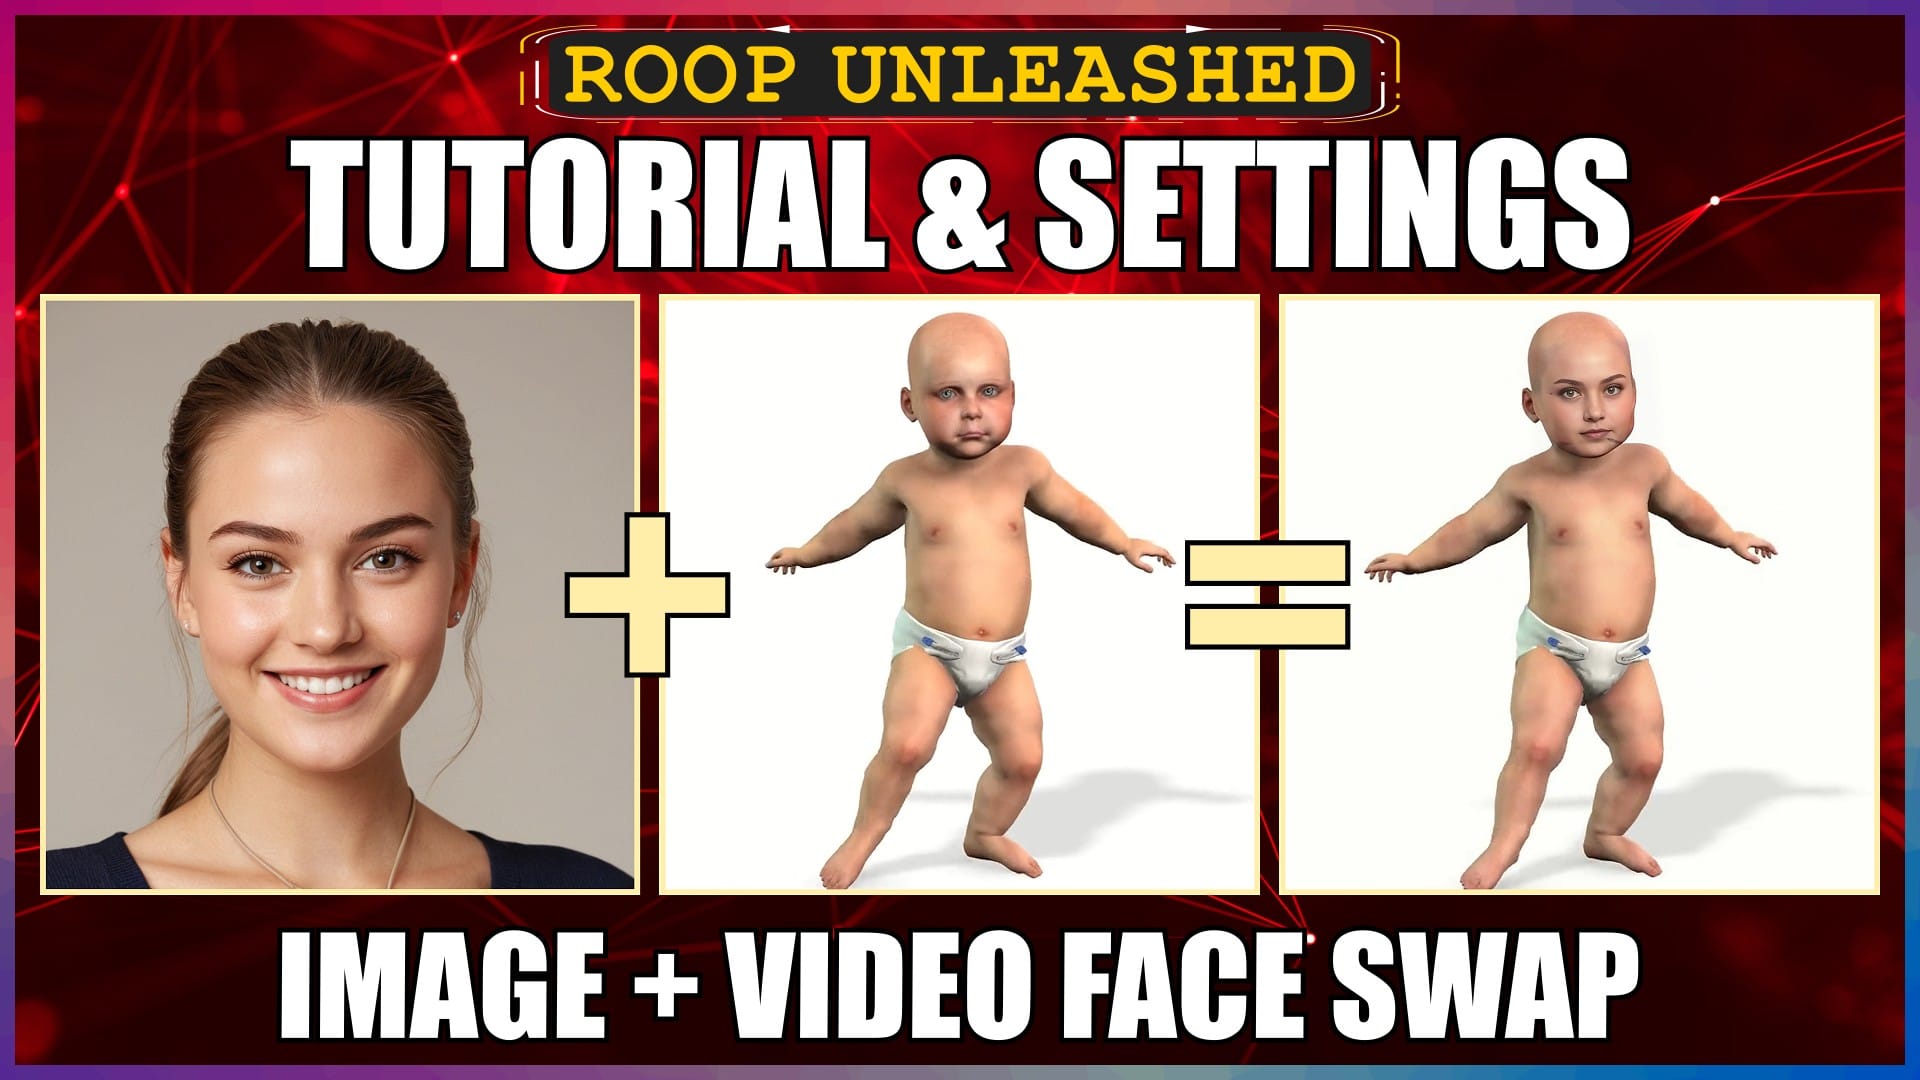
In this video, I’ll walk you through how to use Roop Unleashed IMAGE face swap, and VIDEO face swap functions, to achieve the best results by using the best settings.
I’ll show a number of example results at the end of each section, so you can see a real results comparison, with both types of face swap.
The great thing about using Roop Unleashed, compared to other face swapping tools, is that everything is really quick and easy to do.
If you haven’t installed Roop Unleashed as yet, then do it the easy way, and take a look at my 1-click install method. I’ll leave the link to that video in the description below for you.
So, let’s crack on.
GPU or CPU Settings
Before we get into the face swapping, let’s make sure that we’re set up correctly, to use either our GPU or CPU.
When we launch Roop Unleashed, in the Command Prompt window, we can see the details of what will be used to generate our face swaps.
In my case, it’s using my CUDA enabled NVIDIA GeForce RTX 3070 GPU.
At the top of the Roop Unleashed screen, we can also see the version of CUDA that’s used, in this case, it’s version 11.8.
If we select the “Settings” tab, in the “Provider” section, we can see that “CUDA” has been auto selected, to use my CUDA enabled NVIDIA GPU.
If you don’t have an NVIDIA CUDA GPU, then you can select “CPU” to face swap with your CPU instead.
Remember, if you DO change any settings, then make sure you click the “Apply Settings” button, and then the “Restart Server” button.
Most newer NVIDIA GPUs are CUDA capable, but if you want to check whether your model is, then take a look at the official NVIDIA GPU CUDA list. I’ll leave the URL link in the description below for you.
OK. Now that we have our settings sorted, let’s do some face swapping.
Image to Image Face Swap
Let’s start off with an image to image face swap.
We’ll select the “Face Swap” tab.
If we scroll down a bit, we’ll see two image input boxes.
The first “Source Image” box, is where we drag in our face image.
The second “Target File” box, is where we drag in our image, that we want our face swapped ONTO.
Let’s first drag in our face image, into the “Source Image” box. It’ll take a couple of seconds to analyse and detect the actual face in our image.
The face or faces that are detected, will be shown in the top left “Input Faces Gallery” box. Have a quick check to make sure the correct face has been correctly detected.
In our case, we only have the one face in our face image, so just the one face is correctly detected and shown.
If we had multiple faces in the image, then we would need to select the face that we wanted to use, by clicking on it in the top “Gallery” box, and then below the input source boxes, in the “Specify Face Selection for Swapping” drop-down, we would select “Selected Face”. We don’t need to bother doing this in our case, since there’s only one face that’s been detected correctly.
Now we need to drag in our target image, that we want our face swapped onto, into the “Target File” box. The image will be processed, and after a short while, shown in the larger “Preview Image” box to the right.
Make sure the correct target image is shown.
Scrolling down.
In the “Advanced Masking” drop-down options, I haven’t really found any worthwhile improvements to the final image by changing any of these settings, so we’ll just leave them at their defaults.
The “Max Face Similarity Threshold” is set to a default of 0.65. This determines the level of similarity to our original face image. The lowest value of 0.01, will produce the greatest level of similarity.
To be honest, I haven’t really found a great deal of difference with using different values for this setting, but let’s slide it all the way down to 0.01 anyway.
For “Subsample Upscale To”, we’ll bump this up to a higher upscale of 512px. This WILL improve the final image quality.
In this demo, we’re going to be using 1024 by 1024px face and target images. Even though Roop Unleashed tends to max out at 512px, I’ve found that the 1024px images produce a much higher quality result, compared to using 512px source images.
That’s pretty much all we need to worry about, for image to image face swapping. The other options are for video face swapping.
Now we just hit the “Start” button, at the bottom of the screen. It doesn’t take long to complete.
Once completed, the resulting face swapped image will be shown in the “Final Image” box at the bottom of the screen.
The actual processed final file is shown to the left of the image. We can click the download icon next to it, to download the final image to our computer. The final file will also be saved in our Roop Unleashed “output” folder.
I’ve done a fair bit of image to image face swapping with a variety of AI tools, and if I’m honest, I’m not overly impressed with the results that I get with Roop Unleashed, in terms of both quality and clarity. For image to image, I personally use other tools, depending on my needs.
However, I do know, that it’s an option that many people are happy with, especially in terms of how quick and easy it is to do.
So, it’s worth testing out with your own images, and seeing what you think of the results.
Here’s a few results, that I generated earlier. None of them have had any further editing done to them, so that you can see the real results for comparison.
Hopefully, you now have a better idea of the kind of results you can expect.
OK. Moving on.
Image to Video Face Swap
Let’s move onto image to video face swapping.
We’ll keep the “Face Swap” tab selected.
We use the same “Source image” box for our face image, and the same “Target File” box for our video, that we want our face swapped onto.
Let’s drag in our face image.
Again, the face will be detected and shown in the “Input Faces Gallery” box above.
We need to check to make sure it’s the correct face that’s picked up to use, which it is.
Next, we’ll drag our video, that we want our face swapped onto, into the “Target File” box.
Once processed, the video will be shown in the “Preview Image” box.
We need to make sure the face shown in there, is the correct one that we want to swap out.
We only have the single person in our video, so it’s correct.
If we had multiple faces in our video, then we’d use the “Frame Number” slider underneath the box, to find our person, and then click the “Use Face from this Frame” button.
We could also face swap a portion of the overall video, by selecting the starting frame, and then clicking the “Set as Start” button, then select the end frame, and click the “Set as End” button.
We won’t do that in this demo, we’ll face swap the whole video.
OK, let’s move onto the key settings.
Again, we’ll slide the “Max Face Similarity Threshold” value to its lowest of 0.01, and in the “Subsample Upscale To” drop-down box, we’ll select 512px.
For quality, the most important setting is the “Select Post-Processing” drop-down. We’ll drop this down and select “GFPGAN”. You can test other processors, but I consistently get the best results with this one, so that’s what we’ll use.
That’s it. There are some other settings available that you could test, but these are the key ones that I tend to use.
Then we just hit the “Start” button.
Depending on the size of your video file and hardware specs, it may take a little while to process and produce the final face swapped video.
You can check the progress in the Command Prompt window.
Once the video has been processed, we’ll see a “Finished” message in the Command Prompt window, and the completed file in the bottom “Processed Files” box, which we can just click on to download. The final file will also be saved in our “output” folder.
Here’s a few results, that I generated earlier. Again, none of them have had any further editing done to them, so that you can see the real results comparison.
Hopefully, you now have a better idea of the kind of results you can expect.
Conclusion
Now you know how to use Roop Unleashed for both image to image, and image to video face swapping.
Anyway, hope you found this video helpful, and I’ll catch you in the next one.
Links
How to Install Roop Unleashed in 1-Click:
https://youtu.be/8vjR4Zvi0-8
NVIDIA GPU CUDA List:
https://developer.nvidia.com/cuda-gpus


