Install Zyphra Zonos TTS in 1-Click – ElevenLabs Alternative FREE Natural Text to Speech

Introduction
Hello there and welcome!
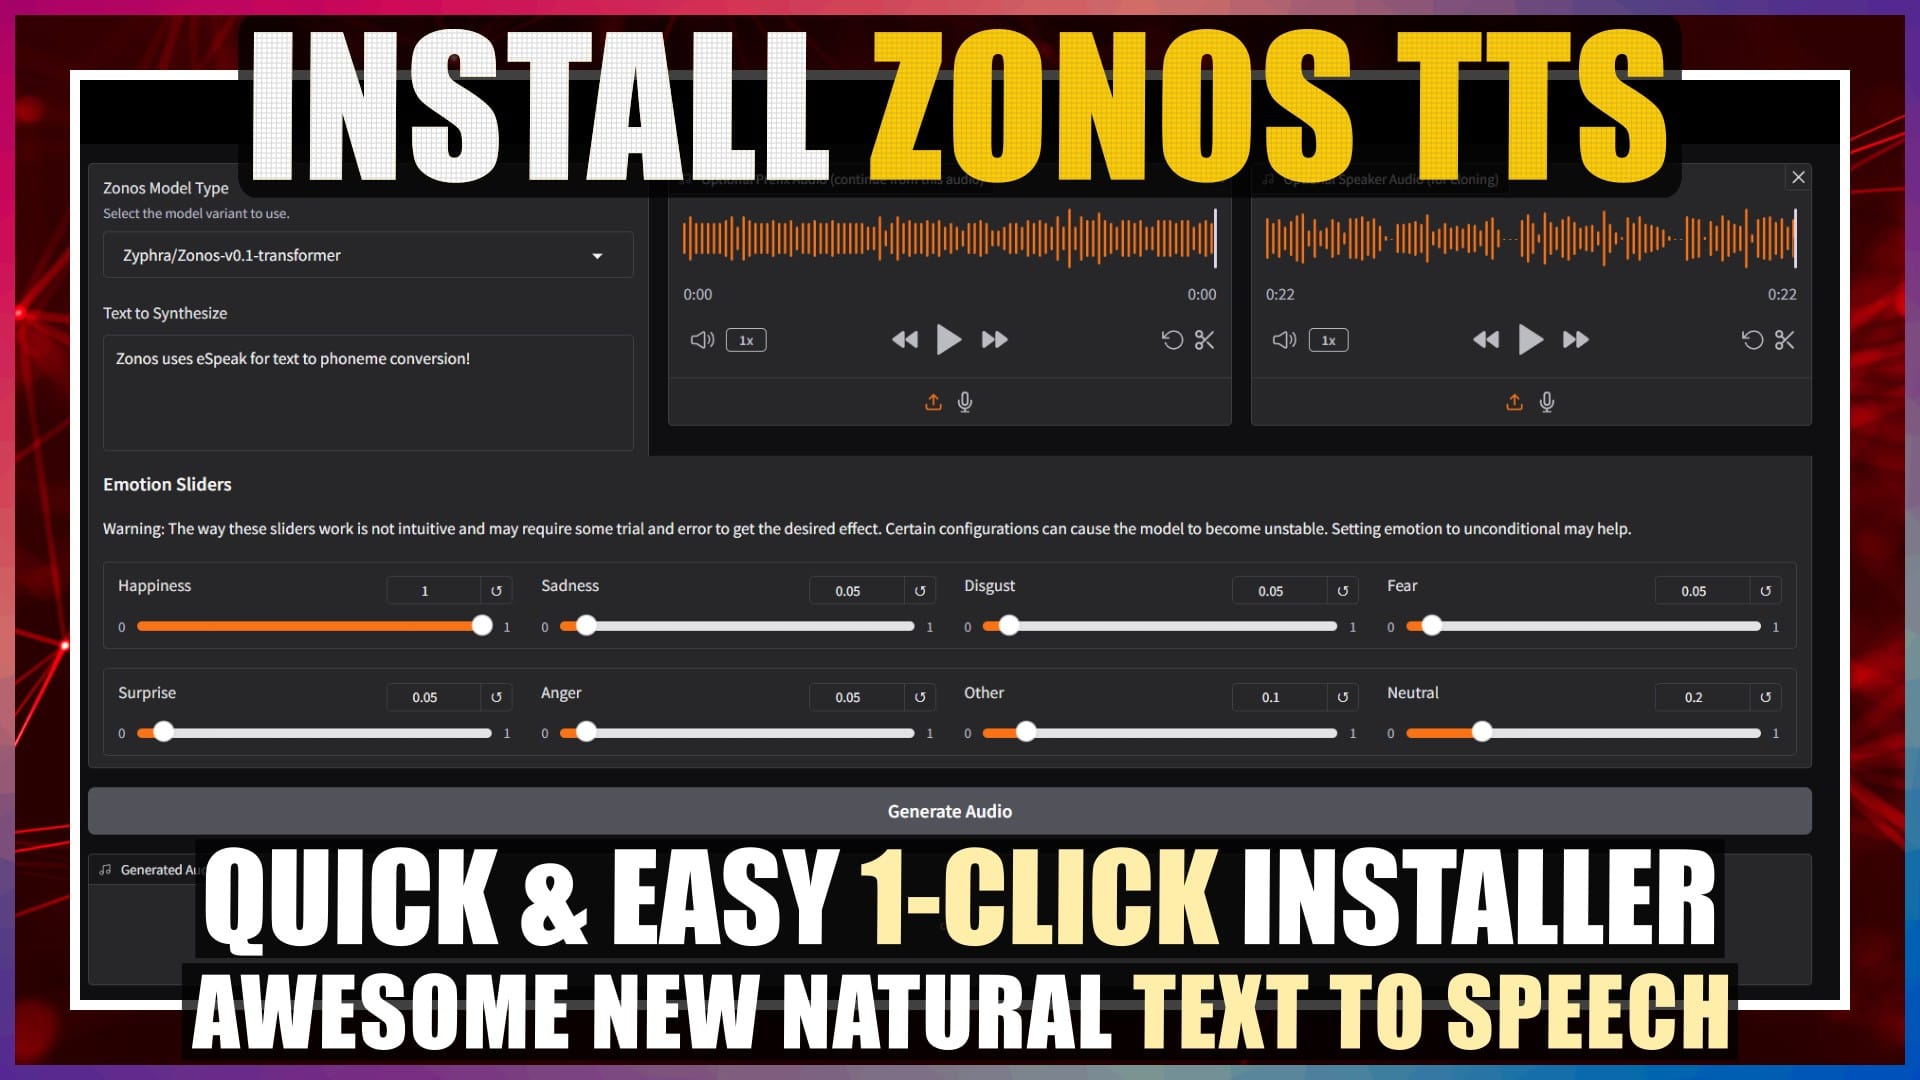
The newly released Zonos TTS is now available to install locally on Windows with a simple 1-click installer. It’s a hugely capable, high quality and natural sounding text-to-speech tool, that’s completely free and unlimited.
Zonos TTS has a number of capabilities built-in as standard:
Firstly, there’s two separate expressive TTS models that you can switch between. Each has been trained on approximately 200,000 hours of speech data.
Secondly, you can obviously do straight up text to speech conversions, in a number of different languages.
Thirdly, you can clone your own voice with only very short voice samples.
Fourthly, you can fine-tune the voice with a whole range of variables, such as speaking rate, pitch variation, audio quality, and emotions like happiness, fear, sadness, and anger. The fine-tuning capabilities, not only gives you a unique voice, but you can tweak the settings to provide an even better human-like natural voice.
In this tutorial, we’ll walk through the complete and clean, quick and easy 1-click install method, so you can get straight on with using Zonos TTS.
I’ll leave all the links, syntax and references that I cover in this video, in the Resources section at the end.
So, let’s crack on.
Install Process Overview
Before we get into it, let’s take a quick look at the overview of the complete install process, that we’ll go through in this video.
There’s actually more prerequisite install steps, than there are for main app’s 1-click automated install.
Many of you will already have many of the correct versions of the pre-requisite pieces of software installed on your machine, so if you do, then you can just jump straight past those sections of the tutorial.
We’ll be improving on the Windows install guidance on the Zonos for Windows GitHub page, so you can always take at look there for any additional details.
You should note, that you’ll need a CUDA capable NVIDIA GPU with at least 6GB of VRAM to run Zonos TTS.
Anyway, now we know where we’re going, let’s get stuck into it.
Install Visual Studio
The 1st step is to install Visual Studio. We need Visual Studio for CUDA when we install it in the next step. If you already have at least CUDA version 12.4.1 installed, then you can jump straight to step 5, to install Git.
Visual Studio comes in a number of different editions, including the free Community edition, which is the one that we want to install. Unfortunately, the latest Visual Studio 2022 Community edition versions have issues with CUDA. So, to get around these compatibility issues, we’ll install the latest tried and tested Visual Studio 2019 Community edition, that works flawlessly with CUDA.
Anyway, we’ll open my Visual Studio 2019 Community edition download page in our browser. Then we’ll just click the installer file download button. On the “Save As” window, we’ll navigate to my E drive, and click “Save”, to save the file here. The file is only small, so it won’t take long to download.
Once the file has finished downloading, we’ll navigate to my E drive. In here, we can see the downloaded “VisualStudio.exe” file. We’ll double-click this file to begin the installation process.
On the first configuration window, we’ll just click the “Continue” button.
On the main installer window, we need to make sure that we tick the “Desktop development with C++” option. Then we just click the “Install” button, to start the installation. The installation will take a fair while to complete. Whilst we’re waiting, we can untick the “Start after installation” checkbox. Then we wait.
Eventually, everything will finish and an installation confirmation will be shown. We can now just close the installer window.
OK. That’s Visual Studio 2019 installed. Onto the next step.
Install CUDA Toolkit
The 2nd step, is to download and install the latest CUDA Toolkit version 12.8. Zonos TTS only needs at least version 12.4.1, but versions above this work as well. If you already have any CUDA version of 12.4.1 or above installed, then you can jump to the next step.
We’ll open the latest CUDA Toolkit download page in our browser. For “Operating System”, we’ll select “Windows”. For “Architecture”, we’ll select “x86_64”. For “Version”, I’m running Windows 11, so we’ll select “11”. For “Installer Type”, we’ll select “exe (local)”. The download button, for our selections, will then be shown below. We just click it. On the “Save As” window, we’ll navigate to my E drive, and click “Save”, to save the file here. The file is just over 3 GB in size, so it’ll take a while to download.
Once the file has finished downloading, we’ll navigate to my E drive. In here we can see the downloaded “CUDA.exe” file. We’ll double-click this file to begin the installation.
Eventually, a “CUDA setup package” window will pop up. The installer first needs to extract the required installation files. We’ll just click “OK” to extract the files to the default location.
After checking our system for CUDA compatibility, a “licence agreement” window will be shown. We just click the “Agree and Continue” button.
On the “Installation Options” window, we’ll select the “Custom (Advanced)” option, so we can have a check and customise what components will actually be installed. Then we click “Next”.
On the “Custom Installation Options” window, we can see that all components are selected by default to install. If we expand the CUDA section, we can see the CUDA components that will be installed, which is fine. We’ll close the CUDA section. We’ll expand the “Other components” section, which shows us the version of “PhysX” that will be installed. It’s the same version as what we already have installed, so we don’t need to install it again, so we’ll untick this. We’ll close this section. For the “NVIDIA App components”, I’m not interested in this extra functionality or bloat, that’s not actually needed, so we’ll untick this. We’ll expand the “Driver components” section. Here we can see that the display and audio driver to be installed are later than my current ones, so we’ll leave both checked. For CUDA 12 versions, you’ll need a minimum GPU driver version of 527.41 installed, so make sure you update it if needed. Anyway, now we just click the “Next” button.
On the next “Installation Location” window, we’ll leave the location at the default, and click “Next”, to start the installation. The installation will take a while to complete.
Eventually, everything will complete and an installation summary window will be shown. We don’t need to worry about the items listed as not installed. We just click the “Next” button.
On the final “Installer has finished” window, we’ll just click the “Close” button to complete the installation.
OK. That’s the latest CUDA Toolkit installed. Onto the next step.
Install cuDNN
The 3rd step is to download and install the CUDA DNN files. Although these aren’t mandatory to run Zonos TTS, they do provide added GPU acceleration for a range of tools, so we’ll just tie up the complete CUDA install process, and get these done as well.
We’ll open the latest CUDA DNN download page in our browser. We’ll select “Windows”, then “x86_64”, then “10”, as there’s no Windows 11 option, then “exe (local)”. We’ll click the custom download button that appears below. On the “Save As” window, we’ll navigate to my E drive, and click “Save”, to save the file here. The file will take a little while to download.
Once the file has finished downloading, we’ll navigate to my E drive. In here we can see the downloaded “CUDA DNN.exe” file. We’ll double-click this file to begin the installation.
Eventually, a “CUDA DNN setup package” window will pop up. The installer first needs to extract the required installation files. We’ll just click “OK” to extract the files to the default location.
After a short while, a “licence agreement” window will be shown. We just click the “Agree and Continue” button.
On the next “CUDA DNN Installation Options” window, we’ll leave the default recommended “Express” option selected, and click the “Next” button. The installation will begin and finish quite quickly.
On the last “Installer has finished” window, we just click the “Close” button, to complete the installation.
OK. That’s the latest CUDA DNN files installed. Onto the next step.
Install Git
The 4th step is to install Git, so that we can clone the Zonos TTS files from GitHub in the next step.
We’ll open the “Git download for Windows” page in our browser. I’m running a 64-bit version of Windows 11, so in the “Standalone Installer” section, we’ll click the “64-bit Git for Windows Setup” file link. On the “Save As” window, we’ll navigate to my E drive, and click “Save” to save the file here. The file is only small, so it won’t take long to download.
Once the file has finished downloading, we’ll navigate to my E drive. In here we can see the downloaded “Git.exe” file. We’ll double click this file to begin the installation process.
We’ll just click the “Next” button for the next 13 install windows, to accept the default installation settings. On the last install window, we’ll click the “Install” button, to begin the installation. The installation won’t take very long.
Once the installation has finished, we’ll untick the “View Release Notes” checkbox, and click “Finish”.
OK. That’s Git installed. Onto the next step.
Clone Zonos for Windows GitHub Repository
The 5th step is to clone the Zonos TTS GitHub files onto our computer.
I want to install Zonos TTS in the root of my E drive, so we’ll navigate there.
We’ll copy the syntax to clone the Zonos for Windows GitHub page. Then we’ll switch back to the root of my E drive, click into the address bar and paste in the git clone syntax, and press “Enter”. The Command Prompt window will open briefly, clone the repository, and close.
We can now see the cloned “Zonos-for-windows” folder in my E drive.
OK. That’s Zonos TTS cloned. Onto the next step.
Set Unrestricted PowerShell Access
The 6th step, is to give unrestricted script access to PowerShell so our virtual environment that gets setup can work.
For Zonos TTS, we’ll be using the more advanced and versatile PowerShell, instead of the usual Command Prompt.
In the search bar on our task bar, we’ll type in “powershell”. In the right hand side pane, we can see the options for opening PowerShell. We’ll click the “Run as administrator” option. The PowerShell window will open. We’ll copy the syntax for unrestricted PowerShell access. Then switch back to our PowerShell window, and paste it in at the prompt, and press “Enter”. Then we type in “A”, to select “Yes to All”, and press “Enter”. The prompt will return to the starting prompt state. We can now close the PowerShell window.
OK. That’s the PowerShell access done, and all the Zonos TTS prerequisites. Onto the next step.
Install Zyphra Zonos TTS in 1-Click
The 7th step, is to finally install Zonos TTS.
We’ll navigate to my E drive, and open the “Zonos-for-windows” folder that we cloned here.
In here, we can see an “install” PowerShell file. We’ll right-click this file, then select “Run with PowerShell”. The PowerShell window will open, and the download and installation of all the required files will begin. The process will take a fair while to complete.
Eventually, a message that the “install has finished” will be displayed. Unfortunately, more often than not, the installer has issues with downloading and installing “eSpeak NG”. If this happens, it’s not really a big problem, we just need to run the installer again. Subsequent runs won’t download and install the files that were successful, only the outstanding ones. So it’s probably worth doing a second run anyway. Note that Windows will probably pop up a confirmation window to install “eSpeak NG”, so if we don’t click to authorise the install, this will also lead to it failing to install. Let’s do a second install run. We’ll close the PowerShell window. Then go back to the Zonos folder, and run the install file again with PowerShell. It shouldn’t take long this time.
When it completes, we will now see an “espeak-ng” installed message, and no other errors. Everything looks good. We can now close the PowerShell window.
OK. That’s Zonos TTS installed. Onto the next step.
Run Zyphra Zonos TTS
The 8th and final step, is to actually run Zonos TTS.
We’ll go back into the “Zonos-for-windows” folder in my E drive.
In here, we can see a “run gradio” PowerShell file. Note that the “run gradio” file that we want is the one with the “.ps1” file extension, and not the “.bat” file extension.
Every time we want to run Zonos, we need to right click this “run gradio” PowerShell file, and then select “Run with PowerShell”. The PowerShell window will open and run through the launch processes.
After a short while, Zonos TTS will open automatically in our browser. However, you’ll notice that there’s small orange spinning icons in all the boxes, which means we’re not done quite yet. If we switch back to our PowerShell window, we can see that all the required models, which are fairly large, are being downloaded. This just needs to happen the first time we run the app.
Eventually, everything will finish downloading, and if we switch back to our browser, we can see that the spinning icons have disappeared and everything is now ready to use.
If you can see the Zonos TTS app, then congratulations, you’ve just installed Zonos TTS successfully.
Conclusion
Now, you know how to do a complete and clean install of Zonos TTS using the 1-click Windows installer.
Anyway, hope you found this video helpful, and I’ll catch you in the next one.
Resources
Links
Zyphra Zonos Beta v0.1 Details:
https://www.zyphra.com/post/beta-release-of-zonos-v0-1
Zonos for Windows:
https://github.com/sdbds/Zonos-for-windows
Visual Studio 2019 Community Edition:
https://foxtonai.com/visual-studio-2019-community-edition-download/
Latest CUDA Toolkit:
https://developer.nvidia.com/cuda-downloads
Latest cuDNN:
https://developer.nvidia.com/cudnn-downloads
Git for Windows:
https://git-scm.com/downloads/win
Syntax
Clone Zonos for Windows GitHub Repository:
git clone https://github.com/sdbds/Zonos-for-windows.git
Set Unrestricted PowerShell Access:
Set-ExecutionPolicy Unrestricted
(then answer ‘A’)


