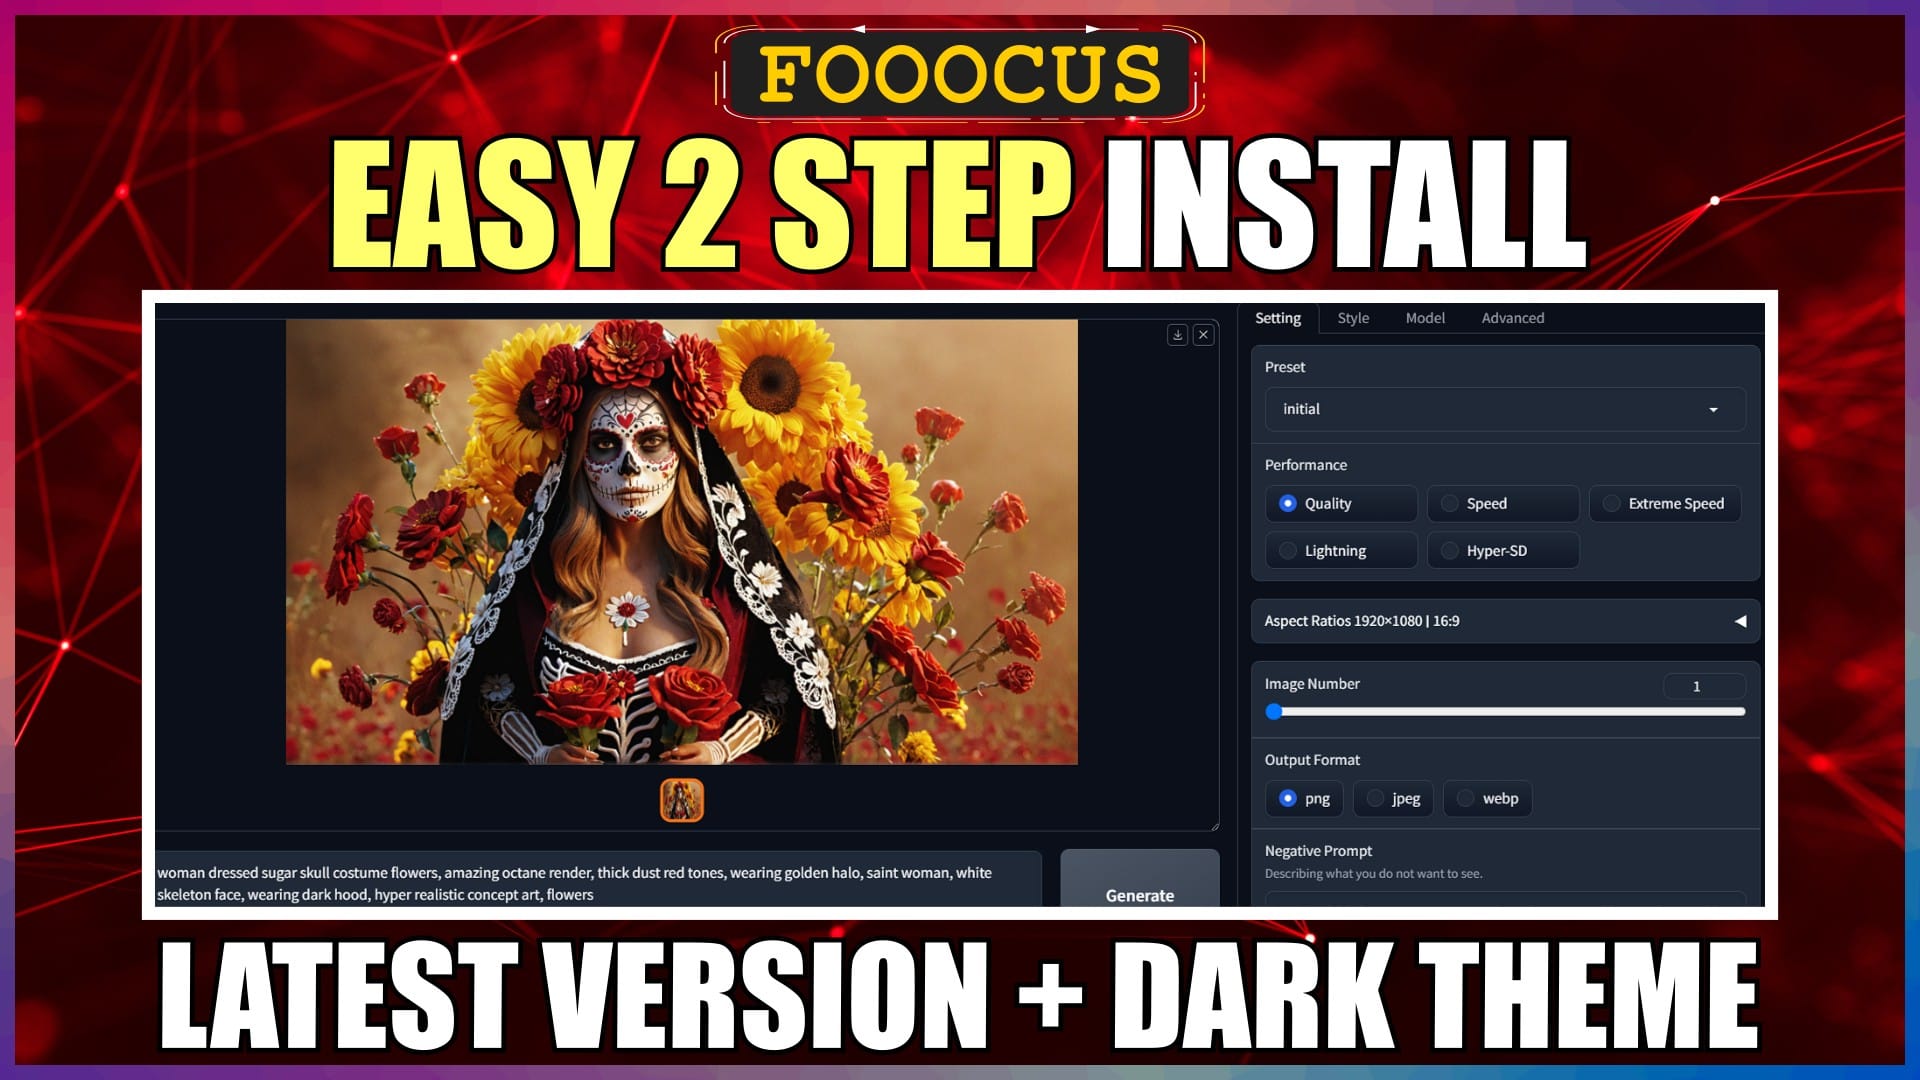
Install Fooocus in 2 Easy Steps – Latest Version + Dark Theme

Introduction
Hello there and welcome!
In this video, I’m going to walk you through the quickest and easiest way, to install the latest version of Fooocus, plus enable a dark theme for it.
Fooocus is still the most intuitive and straightforward UI, for generating high quality images with Stable Diffusion, quickly and effortlessly.
So, if you’re looking for a no-nonsense Stable Diffusion UI, with the usual complexities taken care of for you, and still produce outstanding images, then Fooocus is probably your best choice.
I’ll be installing Fooocus on my Windows 11 PC.
So, let’s crack on.
Download and Extract Fooocus
Open the Fooocus GitHub page. I’ll leave the URL link in the description below for you.
Scroll down the page, to the “Download” section.
Then under the Windows section, click the “Click here to download” text link.
On the Save As Window, navigate to where you want to save the file.
I’ll just save it in the root of my E drive.
Then just hit the Save button.
Once the file has downloaded, navigate to your file download folder, which for me is my E drive.
Right click on the downloaded file, and select “Extract All”.
I want to extract it directly into my E drive, so I’ll browse there, click “Select Folder”, and then click “Extract”.
The extracted file is about 5 and half gigs, so it’ll take a little bit of time to extract.
Once it’s extracted, we can go ahead and delete the original downloaded file, to save some disk space.
To tidy things up, We’ll rename the extracted folder to just “Fooocus”.
OK, that’s step 1 done.
Run Fooocus
If we open the parent Fooocus folder, we’ll find 2 folders and 3 dot bat files.
The dot bat files, are the ones that we’ll double-click to run and launch Fooocus in our browser.
The run dot bat file is our standard launcher.
Then the run anime and run realistic, are additional custom configurations, aimed at specifically generating anime and realistic images.
The standard launcher, is of course also capable of generating anime and realistic images.
The first time we run each bat file, it’ll take some time, as numerous required files will be downloaded and installed.
Subsequent runs will launch Fooocus much quicker.
Let’s run the standard run dot bat file to kick off the process. The process will be the same for each of the dot bat files.
When we double-click on the run dot bat file, a Windows Defender SmartScreen warning window will pop up. Just click the “More info” link, and then the “Run anyway” button.
A Command Prompt window, will automatically launch and do its thing.
The Command Prompt will continue to always run when we have Fooocus running in our browser, which is sometimes handy, to see the progress of things we’re doing in our browser.
Eventually, everything will complete, and Fooocus will be launched in our web browser.
OK, that’s step 2 done and Fooocus installed.
Enable Fooocus Dark Theme
The standard Fooocus theme is light, but most people prefer a dark theme.
Let’s make a quick edit to the run dot bat file, so that it launches with a dark theme automatically.
We’ll close any active instances of Fooocus in our browser, and close the Command Prompt.
We’ll go back to our Fooocus folder and files.
Right-click on the run dot bat file, and select “Edit in Notepad”.
At the end of the first line, we’ll leave a space and add the text “–theme dark”.
That’s it.
Save the file.
You’ll need to do the same thing to the anime and realistic dot bat files, if you want to automatically enable a dark theme when you launch Fooocus with those files.
Let’s launch Fooocus again, to check the dark theme has been enabled correctly.
OK. Everything looks good. Job done.
Conclusion
Now you know how to quickly and easily, install the latest version of Fooocus on your Windows PC in 2 steps, as well as enable dark mode.
Anyway, hope you found this video helpful, and I’ll catch you in the next one.
Links
Fooocus GitHub Page:
https://github.com/lllyasviel/Fooocus


