Install ADetailer in Stable Diffusion Automatic1111

Introduction
Hello there and welcome!
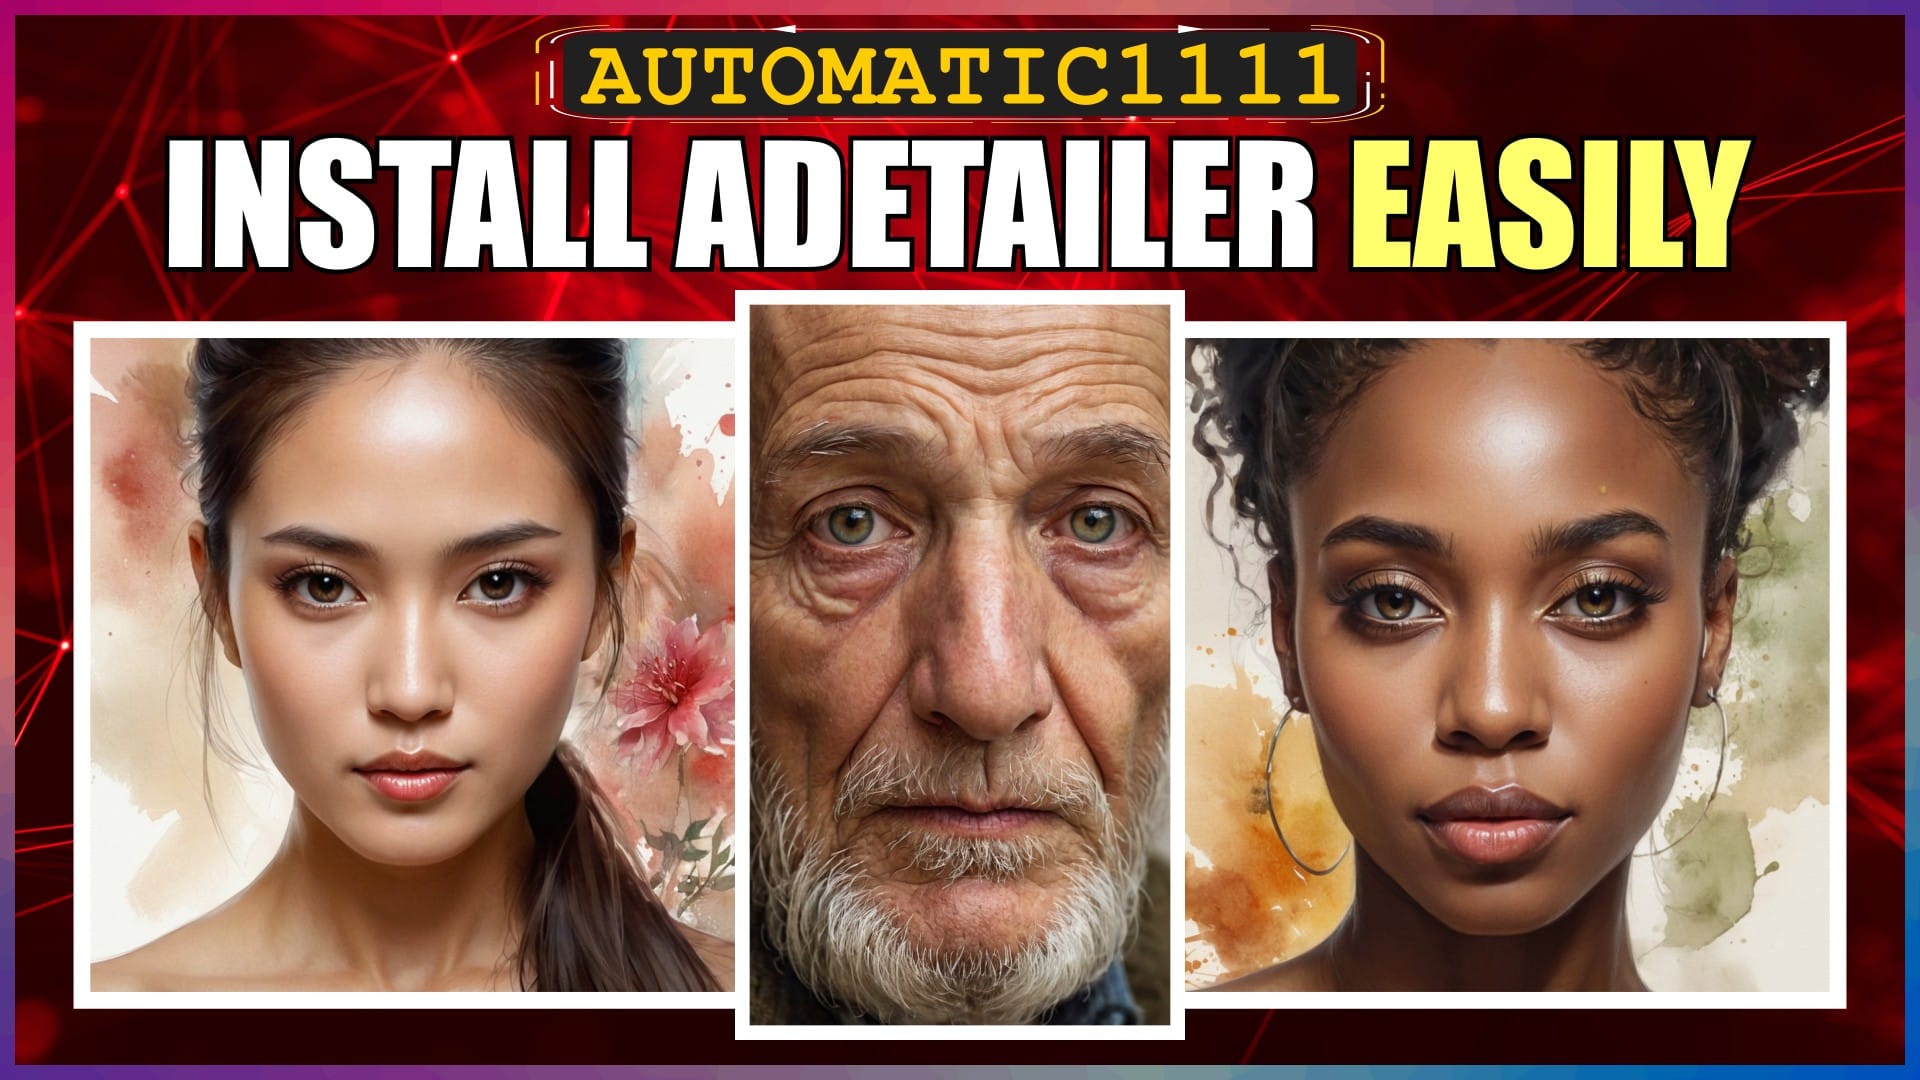
In this video, I’m going to walk you through the quick and easy way to install ADetailer for Stable Diffusion, and also cover the best models to download and use to produce the best results.
ADetailer is still one of the best ways to save time and hassle to automate object detection, masking and inpainting to enhance and change images, especially faces, eyes, hands, bodies and clothing.
In this video, I’ll be installing the extension and best models in a standard local install of Automatic1111 running on my Windows 11 PC.
So, let’s crack on.
Install ADetailer Extension
Open Automatic1111.
Select the Extensions tab, and then the Available sub-tab.
Click the big orange Load from button, to fetch the latest list of official extensions.
When the list is displayed, type “adetailer” in the search box.
In the filtered list, you’ll see the “ADetailer manipulations” extension shown.
Click the Install button to the right of it.
Once the extension has been downloaded and installed, an installed message will appear below the search box.
To finish the installation, click the Installed sub-tab, and then click the orange Apply and restart UI button.
This will complete the installation and restart the Automatic1111 UI in your browser.
Check ADetailer Installed Correctly
Let’s have a quick check to make sure ADetailer has been installed correctly, and is being picked up by Automatic1111.
On the txt2img tab, scroll down a bit towards the bottom of the page.
You should see a new section named ADetailer.
Click the arrow to the right to expand the section, and you should see the different settings in there.
If you can see this, then everything has been installed correctly.
Best ADetailer Models to Use
The current version of ADetailer comes bundled with 10 different default models.
Different models are trained to recognise and isolate specific parts of an image, so that only that part is then modified. The better the model, the better the detection and the better your final result.
These YOLO and mediapipe models are mostly specific for the face, eyes, hands and person. There’s no default clothing model included. YOLO and mediapipe models detect objects in different ways, which affects the final result.
I generally find that the YOLO models produce better results than the mediapipe models. However, there have been a couple of times when a mediapipe model has detected some difficult faces better than the YOLO face models, and ended up producing a better final result, so it’s worth having them both. YOLO doesn’t currently have an eyes specific model, so I stick with the default mediapipe eyes model.
The current default YOLO models are version 8 models, as you can see from the v8 in the model name. There’s also different variants of the same model, variant n and variant s. The n stands for nano and emphasises speed over quality. The s variant is slightly bigger and has a better balance between speed and quality. Even though the variant s quality improvement seems minimal, I tend to get better results with them.
There are only four additional models that I’d recommend downloading and installing. The YOLO 9c face model, the YOLO 8s and 9c hand models, and the YOLO 8s clothing model.
The face and hand 9c models, are based on the newer YOLO version 9 and, in most cases, produce slightly better results for me than the 8s models. Having said that, occasionally, the 8s hand model outperforms the 9c model, so I like to have that as well. The clothing model is a useful addition, in case you want to use ADetailer for detecting a person’s clothing.
Having said all of that, it’s worth testing different models with your specific image and parameters, as the model that produces the best results for one image may not be the best for another image.
To download these additional models, open the Hugging Face YOLO models’ page. I’ll leave the URL link in the description below for you.
Make sure you have the Files and versions tab selected.
Let’s grab the face 9c model.
Find the face_yolov9c.pt file in the list, then click on the download icon to the right of the file name.
On the Save As window that pops up, navigate to your stable-diffusion-webui folder, then the models folder, then the new adetailer folder, and then click the Save button. I’ll leave the path in the description below for you.
For the hand models, you want the hand_yolov8s.pt and the hand_yolov9c.pt files. For the clothing model, you want the deepfashion2_yolov8s-seg.pt file. You then just need to click the download icon for each of these files and save each model in the same location as we just did for the face model. I’ve already downloaded and saved these.
Once you’ve installed your new models, it’s best to fully restart Automatic1111, then you’ll see your new models listed in the ADetailer model dropdown list.
If you want to try out some other custom models, then Civitai has a few that’s worth taking a closer look at, especially if you’ve got more unusual requirements. Just search for adetailer.
Conclusion
Now you know how to quickly and easily install the Stable Diffusion ADetailer extension and additional models in Automatic1111.
Anyway, hope you found this video helpful, and I’ll catch you in the next one.
Links
ADetailer GitHub Page:
https://github.com/Bing-su/adetailer
YOLO Models:
https://huggingface.co/Bingsu/adetailer/tree/main
Additional ADetailer Models:
https://civitai.com/search/models?sortBy=models_v9&query=adetailer
Paths
Save Additional ADetailer Models to:
stable-diffusion-webui/models/adetailer


