How to Pick the Best Flux Models for You and Use in Forge UI

Introduction
Hello there and welcome!
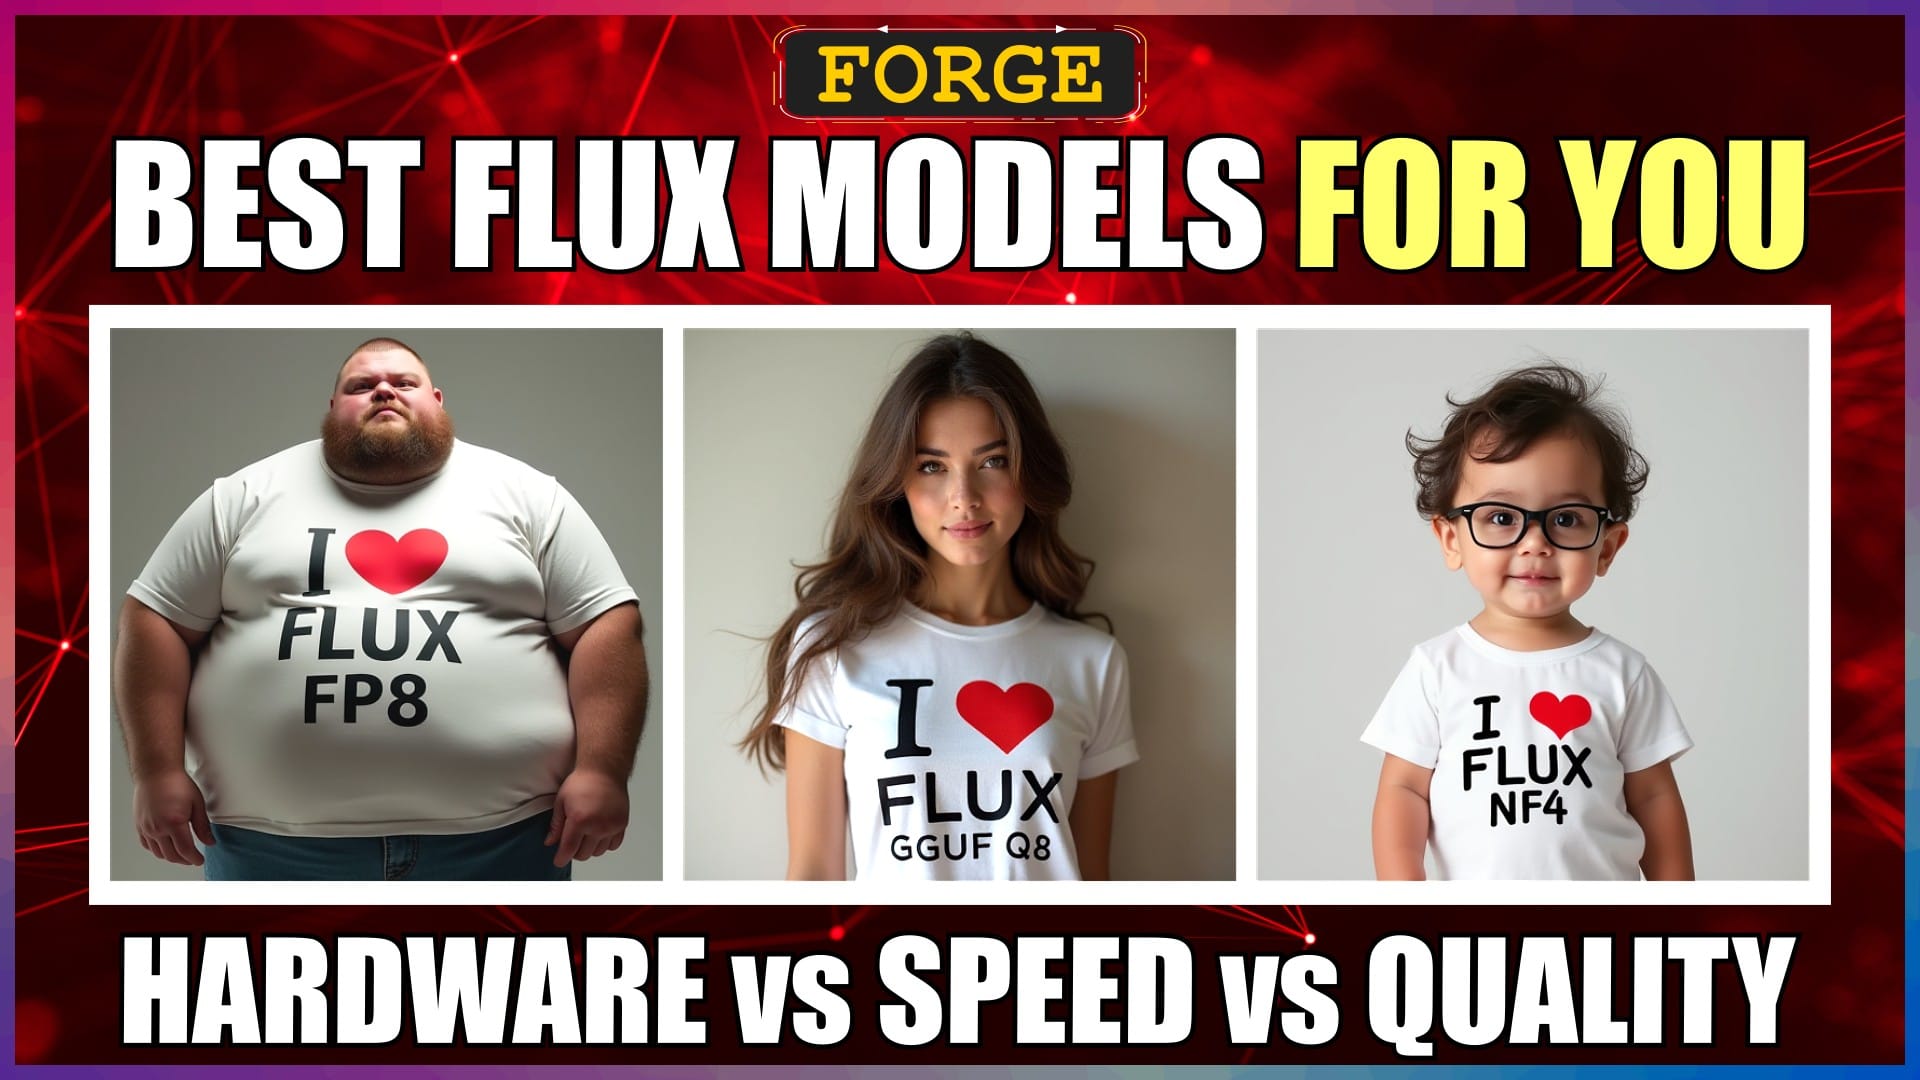
In this video, we’ll take a look at my current pick of the best Flux models available, and cover the fundamental understanding and considerations, to choose and use the right model, for YOUR specific needs and hardware specs.
The focus of this video, is aimed squarely at helping you understand the factors to consider, for choosing the best Flux models for YOU, so that you can save time, and find the sweet spot, between image quality and generation speed.
So, let’s crack on.
My Current Best Flux Model Picks
This is a snapshot of my current picks for the best Flux models.
We’ll only be looking at the Flux Dev and Flux Schnell models, as these are the only ones that we can install locally.
Following the initial release of the Flux Dev and Schnell FP16 base models, there have been a number of other model variants released.
As you can see, there’s a wide range of different models to consider and use, depending on your priorities, in terms of image quality and acceptable generation times, and depending on what GPU and hardware you’re running.
In reality, you’ll probably end up trying a few of them, and then settle on selecting one or two, as your go to everyday image generation models.
Let’s take a quick look at some of the key factors, from my own personal experience and testing, to help you shortlist the models to choose, for your own specific preferences and hardware.
Flux Dev vs Flux Schnell Pros and Cons
The model list is broken down into Flux Dev and Flux Schnell models.
Flux Schnell models are tuned for speed, and so on a like-for-like basis, they will always outperform Flux Dev models in generating images.
Sampling steps, are the number of image generation iterations that are used in total, to produce the final image.
Flux Schnell models only require a recommended 1-8 sampling steps, whereas Flux Dev models require a recommended 20-30 sampling steps.
This means that Flux Schnell models, will outperform their Flux Dev equivalents, in terms of faster overall image generation speed.
Of course, these are only the recommended number of steps, you may find that using a different number of steps, produces better or sometimes worse image results.
For me, Flux Dev models, have consistently produced noticeably better overall image quality, than their directly comparable Schnell models.
Flux Schnell models tend to produce disappointing results for me, when it comes to photorealistic images, although they’re pretty good when it comes to non-realistic images.
I find a noticeable difference with skin texture. Schnell skin always looks excessively plasticy.
Personally, if it wasn’t for the availability of Flux Dev, and I only had a Schnell choice, I’d just stick with SDXL for my photorealistic image generations.
Flux Schnell tends to struggle when it comes to human anatomy, especially human proportions and parts, such as hands and fingers. Whereas Flux Dev models excel in these areas, not only over Schnell, but over SD and SDXL as well.
One of the strengths of Flux, is its ability to adhere better to text prompts, and especially longer conversational style text prompts. I’ve found the adherence with Flux Schnell models to be frustratingly worse than with Flux Dev models.
One of the big reasons that I continue to use Flux over SD or SDXL, is its ability to generate text within images. For me, Flux Dev is much more reliable and accurate in reproducing my requested text, compared to any Schnell model.
Anyway, these are just some of my main observations that I’ve found, when running like-for-like, Dev vs Schnell, comparison tests.
Personally, I really can’t see any reason to choose a Schnell model over a Dev model, UNLESS your priority is raw speed and/or you have lower spec hardware with GPU VRAM less than 6GB.
OK, so that’s pretty much the model list cut in half, to exclude Schnell models and focus on Dev models.
Let’s take a quick look at some other key factors, to help you shortlist the remaining Dev models to choose, for YOUR specific preferences and hardware.
Flux Model Size vs GPU VRAM, RAM, Virtual Memory
As a basic rule of thumb, the larger the model, the higher the image precision and quality will be, but the slower the generation time.
Taking advantage of the benefits that Flux brings over SD or SDXL, is all very well, but if your hardware can’t effectively handle the size of the significantly larger Flux models, then it isn’t really viable to use Flux locally. In this case, if you’re determined to use Flux, then your best option may be to access the Flux models online.
It’s worth noting, that in reality, I’ve found that the quality differences between some of the smaller or ‘lower quality’ Dev models and the larger or ‘higher quality’ ones, are very hard to spot most of the time. Often, you really do have to zoom in and scrutinise the images, to find and pick fault. So I wouldn’t get hung up on this blanket ‘big equals quality’ statement too much.
VRAM is the fastest type of memory, then RAM, then any virtual memory on your hard drive.
Flux models, plus other image generation files, need to be loaded into memory, and then processed.
So, if you you want the fastest generation times, as a rough guide, you should be looking at models that are a smaller file size than your GPU VRAM amount, so that all the loading and processing can be done with your fastest VRAM.
In reality, a highly speed and memory optimised UI like Forge, isn’t going to load everything at once into memory, but rather in stages to reduce peak memory demand. Large text encoder files are mostly loaded and processed before the model.
If you have 12GB of GPU VRAM, and choose to run a 7GB Flux model, then all of that model will probably fit and be loaded and processed in VRAM, and your image generation time will be very fast.
If you try to run a 10GB Flux model, with the same 12GB GPU VRAM, then in reality, some of it will be automatically offloaded to your RAM.
Since RAM is slower than VRAM, then the overall image generation time will be slower.
How much slower, depends on your RAM amount and speed, as well as how much load is actually swapped into RAM.
In this particular scenario, it would probably only increase the overall generation time, by just a few seconds.
Having said all of that, if you really want to run the larger, higher precision and quality models, and don’t care about how long the image takes to generate, then you certainly can, as long as you have enough RAM and virtual memory.
For example, using Forge, on my 8GB VRAM GPU with 16GB of RAM, I CAN generate images using the 22GB Dev FP16 model, and that’s also using in addition, the 9GB FP16 T5 Text Encoder.
However, the image does take about 30 minutes plus to fully generate.
In normal circumstances, this is way too long to wait, but at least I have the option.
If a lot of load is going to be swapped into RAM, then restarting your PC first to flush your RAM, and not opening or using any other apps when you restart, will certainly make things a lot faster.
OK, so you should now be able to cut the model list down even further, to only shortlist those models that fit your quality and speed preferences, in line with your hardware specs.
Flux ‘All-In-One’ vs Flux ‘Model-Only’
To run a Flux model, you need to have three additional files available at run time.
First, a VAE file. This refines image details like colours and textures, making generated images clearer and more realistic.
Second, a CLIP text encoder. This helps the model better understand and align text prompts with image generation.
Third, a T5 text encoder. This improves understanding of complex or subtle text prompts.
Some Flux models that you download, are All-In-One model files, where the VAE and text encoders are baked in.
Some are Model-Only model files, which don’t have the VAE and two text encoders included.
The All-In-One model file will be larger, but all you need to do in Forge to run it, is select the checkpoint model file, and the VAE and text encoders will be loaded and processed automatically from the file.
A Model-Only model file is smaller, but you’ll also have to download the VAE and two text encoders separately.
You will then need to manually select them in Forge, otherwise you’ll get an error and the image won’t generate.
Which type of model file you prefer is a personal choice, but also limited by what’s available.
When it comes to Flux, I prefer the Model-Only model files.
They’re not only smaller and quicker to download, but it also means that I can manually choose which precision T5 text encoder I use with the model.
I currently use the Flux Dev FP8 model the most, but I prefer the better prompt adherence and image results, using the FP16 text encoder.
The All-In-One FP8 Dev model file has the FP8 text encoder baked in as default.
So, instead of downloading the All-In-One version, I have the Model-Only file, which is about 5GB smaller in size.
Unfortunately, with the current model download choices, sometimes both types of model files are not available.
With the Dev NF4 model, the only recommended option is the All-In-One file.
In Forge, we can still override the default text encoders, by manually selecting another if we wanted to.
So it’s not really a big deal, the All-In-One file just takes up extra space on my hard drive.
The main takeaway of all of this, is to make sure you know whether your downloaded model file, is All-In-One or Model-Only.
If it’s Model-Only, make sure you download and save the VAE and text encoders in the correct Forge folders, and remember to manually select them in Forge, before hitting the Generate button.
Download and Save Flux Model, VAE, CLIP, T5
I’ll leave the recommended source links to all these Flux models, VAE and text encoder files in the description below for you, so that you can go directly there, and download the ones that you’re interested in.
Where to save each of the files is really easy in Forge.
All models, regardless of whether they’re All-In-One or Model-Only files, get saved in your “Forge\webui\models\Stable-diffusion” folder.
The VAE gets saved in your “Forge\webui\models\VAE” folder.
The CLIP and T5 text encoders both get saved in your “Forge\webui\models\text_encoder” folder.
OK, now you know where to save each of the files, so that they’re picked up correctly by Forge.
Selecting Flux Model, VAE, CLIP, T5 in Forge UI
Once you have all your models, and any additional VAE and text encoder files downloaded, let’s take a quick look at how we select and use them in Forge.
Let’s start with the Flux Dev NF4 All-In-One model file.
In the top left corner of the screen, in the UI section, select “Flux”.
In the “Checkpoint” box, drop down the box, and we’ll select the Flux Dev NF4 model.
Since this is an All-In-One model file, we don’t need to manually select any additional VAE or text encoder files, unless we wanted to deviate from the included defaults, of course.
Now, if we wanted to instead select a Model-Only model file, like the Flux Dev FP8, then we select it from the checkpoint drop-down.
In addition, we need to manually select the VAE, and CLIP and T5 text encoder files as well, to use with this model.
In the “VAE / Text Encoder” box, we’ll drop down the box, and for the VAE, we’ll select “ae safetensors”.
For CLIP, we’ll select “clip l safetensors”.
For the T5 text encoder, we can either select the “t5 fp8 safetensors” file or the “t5 fp16 safetensors” file.
I’ll select the FP16 one, for added prompt adherence and better image quality.
Now you just make your image inputs and selections as usual, and hit the “Generate” button to generate your image.
Conclusion
Now you know the current range of best Flux models to choose from, and the fundamental considerations for choosing the right model for YOUR specific needs and hardware specs.
You understand the differences between All-In-One and Model-Only Flux model files, and the purpose of, and when to use separate VAE and text encoders.
And finally, you know where to find and save each required Flux file, and how to use them in Forge.
Anyway, hope you found this video helpful, and I’ll catch you in the next one.
Links
Dev FP16
Model-Only, File = flux1-dev.safetensors
https://huggingface.co/black-forest-labs/FLUX.1-dev/tree/main
Dev FP8
Model-Only, File = flux1-dev-fp8-e4m3fn.safetensors
https://huggingface.co/Kijai/flux-fp8/tree/main
Dev FP8
AIO, File = flux1-dev-fp8.safetensors
https://huggingface.co/Comfy-Org/flux1-dev/tree/main
Dev GUFF Q8
Model-Only, File = flux1-dev-Q8_0.gguf
https://huggingface.co/city96/FLUX.1-dev-gguf/tree/main
Dev GUFF Q4
Model-Only, File = flux1-dev-Q4_0.gguf
https://huggingface.co/city96/FLUX.1-dev-gguf/tree/main
Dev NF4 v2
AIO, File = flux1-dev-bnb-nf4-v2.safetensors
https://huggingface.co/lllyasviel/flux1-dev-bnb-nf4/tree/main
Schnell FP16
Model-Only, File = flux1-schnell.safetensors
https://huggingface.co/black-forest-labs/FLUX.1-schnell/tree/main
Schnell FP8
Model-Only, File = flux1-schnell-fp8-e4m3fn.safetensors
https://huggingface.co/Kijai/flux-fp8/tree/main
Schnell FP8
AIO, File = flux1-schnell-fp8.safetensors
https://huggingface.co/Comfy-Org/flux1-schnell/tree/main
Schnell GUFF Q8
Model-Only, File = flux1-schnell-Q8_0.gguf
https://huggingface.co/city96/FLUX.1-schnell-gguf/tree/main
Schnell GUFF Q4
Model-Only, File = flux1-schnell-Q4_0.gguf
https://huggingface.co/city96/FLUX.1-schnell-gguf/tree/main
Schnell NF4
AIO, File = nf4Flux1_schnellNF4Bnb.safetensors
https://civitai.com/models/638572/nf4-flux1?modelVersionId=714399
VAE
File = ae.safetensors
https://huggingface.co/black-forest-labs/FLUX.1-dev/tree/main
CLIP Text Encoder
File clip_l.safetensors
https://huggingface.co/comfyanonymous/flux_text_encoders/tree/main
T5 Text Encoder
FP8, File = t5xxl_fp8_e4m3fn.safetensors
https://huggingface.co/comfyanonymous/flux_text_encoders/tree/main
T5 Text Encoder
FP16, File = t5xxl_fp16.safetensors
https://huggingface.co/comfyanonymous/flux_text_encoders/tree/main
Paths
Save Models in:
Forge\webui\models\Stable-diffusion
Save VAE in:
Forge\webui\models\VAE
Save CLIP and T5 Text Encoders in:
Forge\webui\models\text_encoder


