How to Install Roop Unleashed in 1-Click – Image and Video Face Swap AI

Introduction
Hello there and welcome!
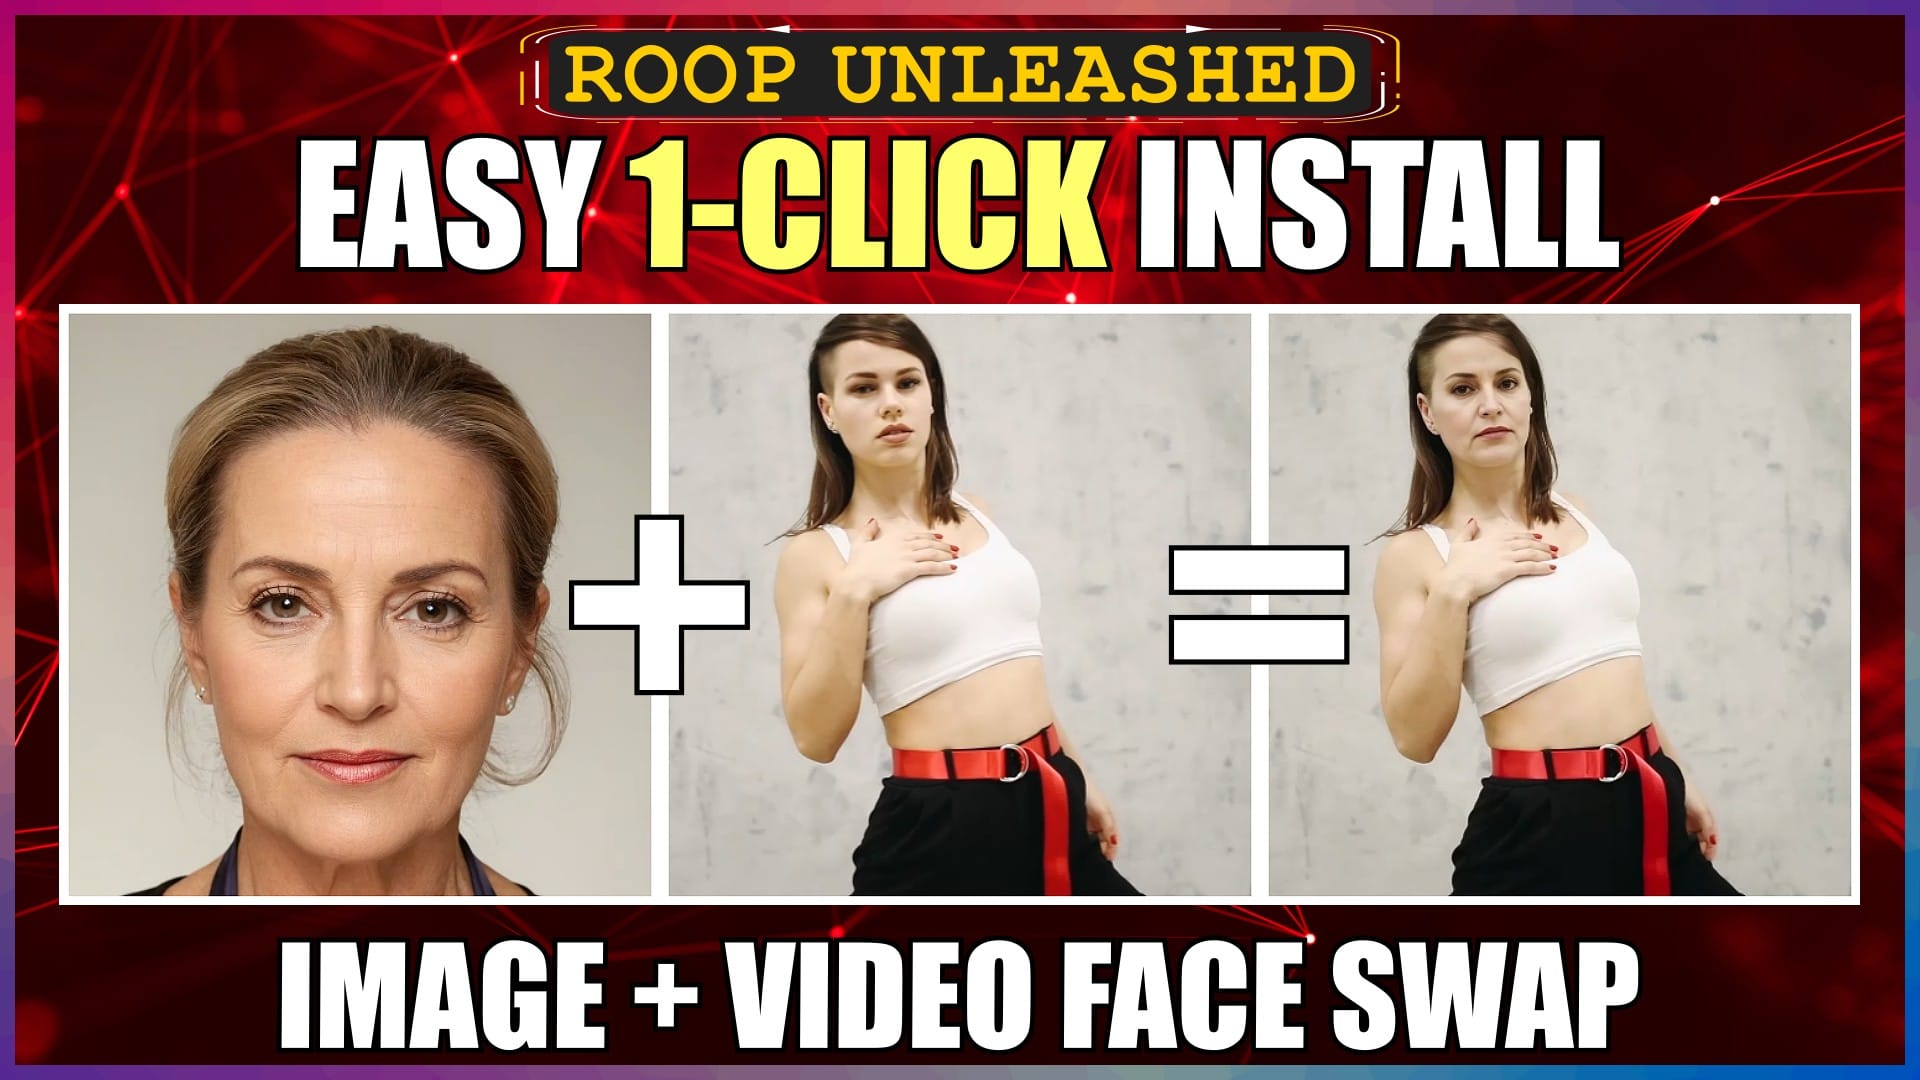
Roop Unleashed, is still one of the most popular face-swapping tools around.
It’s completely free, can be installed locally, is frequently updated, and has an easy-to-use interface.
It’s a solid choice, for UNCENSORED deepfakes without training, for both images and videos.
It used to be an absolute time-consuming nightmare to install Roop Unleashed, but now that the whole process is fully automated, it’s a whole lot quicker and easier.
In this video, I’ll walk you through the quickest and easiest, 1-click installer method, to get up and running with the latest version, in literally just a few minutes.
I’ll be installing everything on a Windows PC, running an NVIDIA GPU.
So, let’s crack on.
Download Roop Unleashed Windows Installer File
Open the official Roop Unleashed GitHub releases page in your browser. I’ll leave the URL link in the description below for you.
The current latest release, is version 4.2.8.
In the “Assets” section for this release, we can see the “roop-unleashed win4.2.8 installer” file link.
We’ll click on this link to download the file.
In the “Save As” window, we’ll navigate to where we want to save the file.
We’ll save it in the root of my E drive, and then click the “Save” button.
Extract Roop Unleashed Installer File
When the file has finished downloading, we’ll navigate to the file download location.
We can see the downloaded zip file in here.
We’ll right-click on this file, and select “Extract All”.
We want to extract it directly into the root of my E drive, so we’ll click the “Browse” button, navigate to my E drive, click “Select Folder”, and then click the “Extract” button.
Once the file has been extracted, we can see the extracted, “roop-unleashed” folder.
To free up some disk space, we can now select and delete the original downloaded zip file.
We can rename the extracted parent folder if we like, but we need to make sure that we don’t leave any spaces in the new name, otherwise this will cause errors during the install stage later.
Install Roop Unleashed
Now we need to run the automated process, to install all of requirements for Roop Unleashed.
Open the extracted “roop-unleashed” parent folder.
In here, we can see a, “windows run dot bat” file.
We’ll double-click this file, to run the installation.
If a Windows Defender protection window pops up, click the, “More info” text link, and then click the, “Run anyway” button.
The Command Prompt window will launch, and the installation will start.
The installation will take a while, to download and install everything required, to run Roop Unleashed.
Once the installation has finished, Roop Unleashed will open automatically in our browser.
Fix FFmpeg Issue
To use video face swapping in Roop Unleashed, we need to have FFmpeg installed AND added to path CORRECTLY.
Unfortunately, the windows 1-click installer, does download FFmpeg correctly, but it creates a mismatch between the actual FFmpeg folder name, and the one that’s written to PATH.
The result of this, is that every time we run Roop Unleashed, it won’t find FFmpeg on our system. So it will install it again, but of course again fail to find and load it. This results in an error warning that we need to install FFmpeg, to use video face swapping.
Fortunately, it’s quick and easy to fix this issue, and hopefully, it will be sorted in future versions of the installer, so we don’t need to do this step, but for now, we have to do it manually.
The easiest way to solve this, is to just rename the extracted FFmpeg folder, created during the installation process.
We’ll open our “roop-unleashed” parent folder, then the “installer_files” folder.
Then we just rename the “ffmpeg…essentials build” folder, to “ffmpeg”.
Now when we run Roop Unleashed, FFmpeg will be found, and so NOT installed again, and be available for video face swapping.
Easy.
How to Open Roop Unleashed After Installation
To open and run Roop Unleashed after installation, we use the same “windows run dot bat” file.
We’ll open our, “roop-unleashed” parent folder, then double-click the “windows run dot bat” file.
The Command Prompt window will launch, and after a short while, a message will appear, asking if we want to check for updates.
We can either type in “y” for yes, or “n” for no.
Everything is already up to date, so we’ll just enter “n” for no update check, and press “Enter”.
Eventually, Roop Unleashed will open in our browser.
Conclusion
Now you know how to install Roop Unleashed in 1-Click, quickly and easily.
You also know how to fix the FFmpeg issue, and run Roop Unleashed again after installation.
Anyway, hope you found this video helpful, and I’ll catch you in the next one.
Links
Official Roop Unleashed GitHub Releases Page:
https://github.com/C0untFloyd/roop-unleashed/releases


