How to Install ControlNet 1.1 in Stable Diffusion Automatic1111

Introduction
Hello there and welcome!
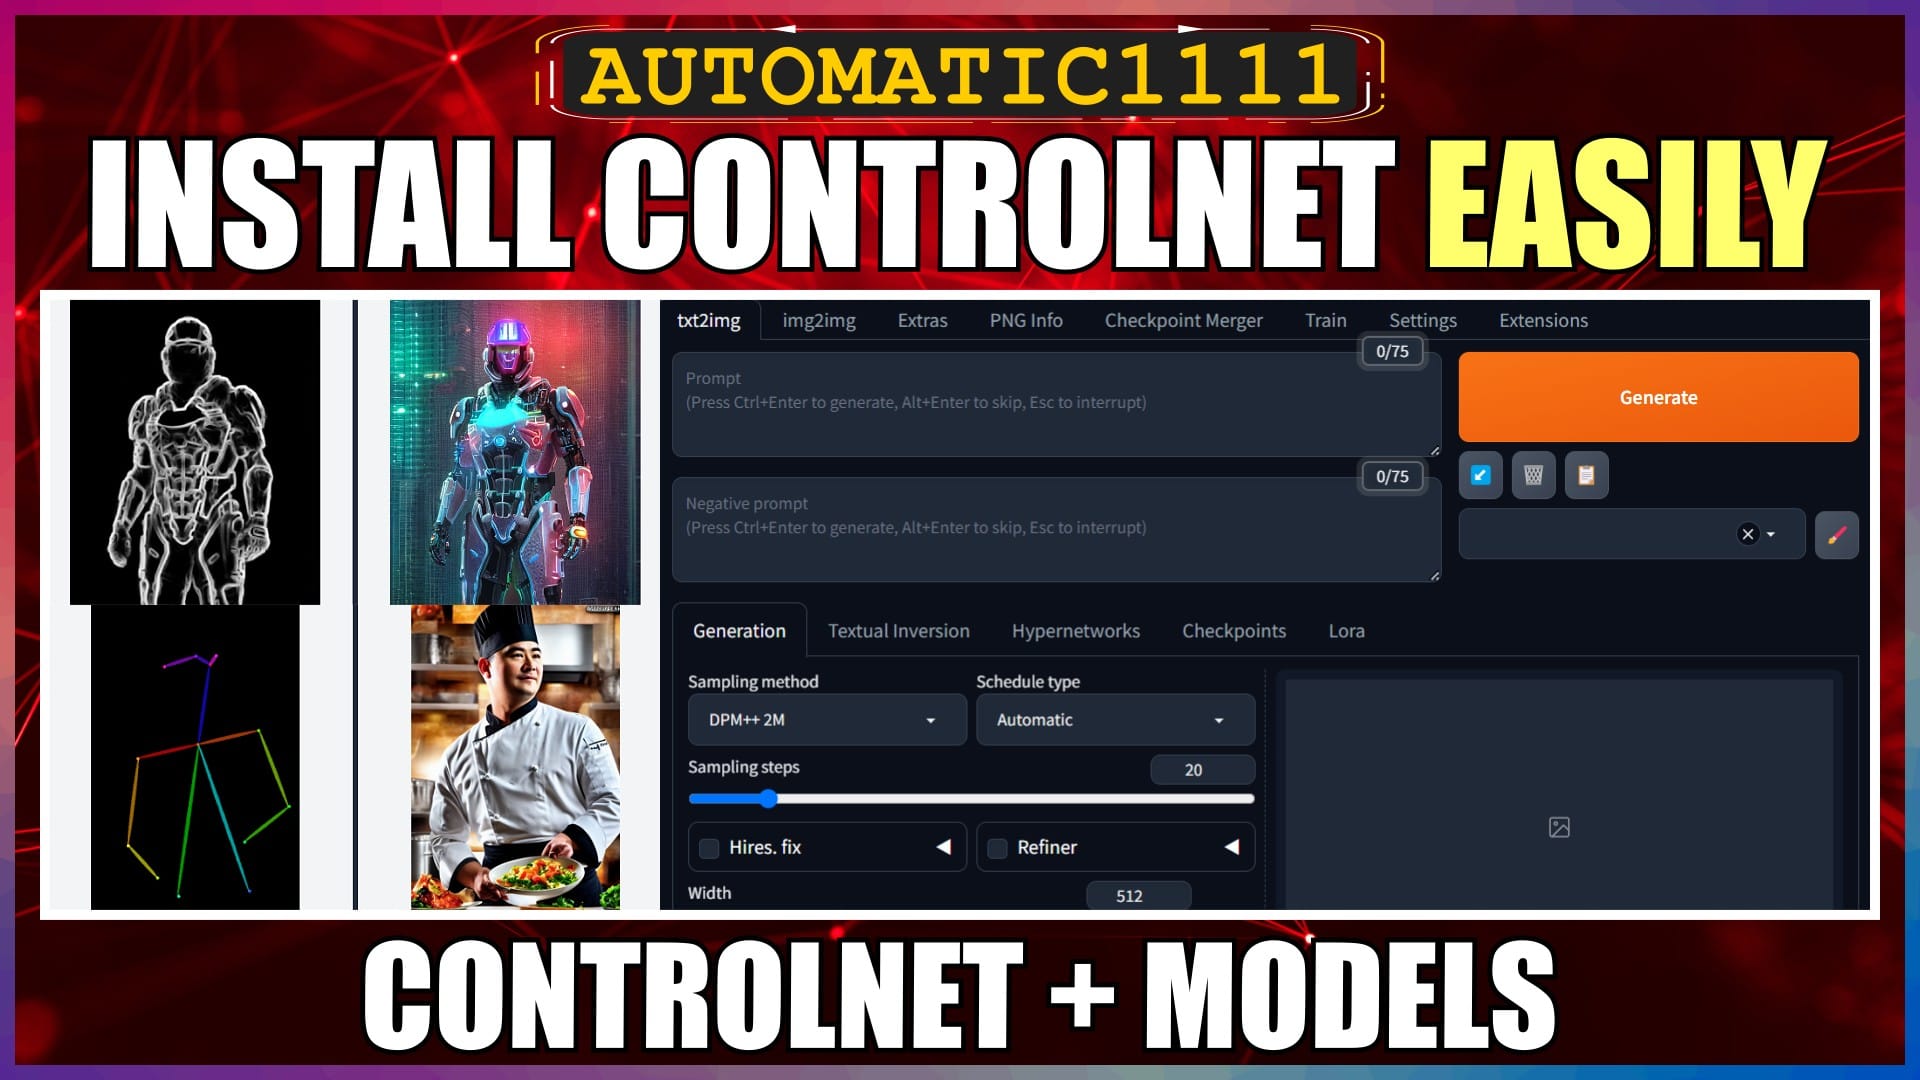
In this video, I’m going to walk you through the quick and easy methods to install ControlNet v1.1 in Automatic1111, so you can get straight into generating controlled images with it.
I’ll be installing the ControlNet extension and ControlNet models into my standard Stable Diffusion Automatic1111 install, running locally on my Windows PC.
So, let’s crack on.
Illyasviel ControlNet vs Mikubill ControlNet
The first step is to install the ControlNet extension.
But before we get into it, it’s worth pointing out, that there’s actually two extensions that you could install and it’s important that you install the correct one.
The first one is the original standalone ControlNet project by Illyasviel, which was never really aimed at integration into a Stable Diffusion web UI, like Automatic1111. Back in the day, it was the only one available, so people recommended and used it.
The second one is the WebUI extension for ControlNet by Mikubill. This one is based on the ControlNet project by Illyasviel, but specifically intended for a Stable Diffusion web UI, like Automatic1111. This is the one that works seamlessly in Automatic1111 and the one we want to use.
OK. Now that you’re glad you have that bit of knowledge, let’s get on with it.
There’s actually two ways you can install the WebUI extension for ControlNet, so I’ll walk through both of them, and you can just pick the method that you prefer.
Install ControlNet from URL
The first method is to install the WebUI extension for ControlNet from the official URL. I prefer this method, it’s just a bit easier and quicker.
Open Automatic1111, if it’s not open already.
Click the “Extensions” tab at the top of the screen and then click the “Install from URL” sub-tab.
In the first input box titled “URL for extension’s git repository”, paste the GitHub URL for the WebUI extension for ControlNet. I’ve put the URL in the description below for you.
Then press the “Install” button.
After a short while, an installed confirmation message will be displayed under the “Install” button. The message will confirm the location that the extension was installed into and advising to restart the UI via the “Installed” tab.
Click on the “Installed” tab and click the “Apply and restart UI” button.
After a short while, the Automatic1111 UI will relaunch in your browser.
That’s it, the WebUI extension for ControlNet has now been installed from the official URL.
Onto method two.
Install ControlNet from Extensions List
The second method is to install the WebUI extension for ControlNet from the built-in extensions list.
Open Automatic1111, if it’s not open already.
Click the “Extensions” tab at the top of the screen, but this time click the “Available” sub-tab.
Then click the “Load from” button, to fetch all the available extensions from the official page.
After a short while, a long list of all available extensions will be displayed.
The quickest way to find the specific extension we want, is to use the search box just above the list of extensions. If you’re using a light coloured Automatic1111 theme, the white search box is a bit hard to see on the white background, but it is there, you can see the small expansion handle on the bottom right of the box.
Anyway, click into the search box and type in “sd-webui-controlnet”.
You should then see it shown in the results list.
Click the “Install” button to the right of it.
After a short while, an installed confirmation message will be displayed above the extensions list. The message will confirm the location that the extension was installed into and advising to restart the UI via the “Installed” tab.
Click on the “Installed” tab and click the “Apply and restart UI” button.
After a short while, the Automatic1111 UI will relaunch in your browser.
That’s it, the WebUI extension for ControlNet has now been installed from the extensions list.
Onto the next step.
Install ControlNet Models
To use ControlNet properly, you’re going to need to download and add some ControlNet models first.
Open your browser and go to the ControlNet Hugging Face page. I’ve put the link in the description for you.
On this page, you’ll see an ever-expanding list of models.
You’ll probably end up downloading and testing out all the models over time, but to get started I’d recommend downloading the two most popular ones, canny and openpose.
We want to download the .pth files.
Find the canny.pth file in the list and click the download file icon to the right of the file.
On the “Save As” window that pops up, you want to navigate to your stable-diffusion-webui folder, extensions folder, sd-webui-controlnet folder, and then the models folder.
Then click Save.
We can then repeat this download and save process for the openpose.pth model file as well.
OK, that’s the ControlNet models downloaded and installed.
You’re all set.
Check ControlNet and Models Installed Successfully
Now that ControlNet and the models are installed, let’s have a quick check to make sure everything’s working OK.
It’s a good idea to flush everything first.
If you have Automatic1111 open, close it in the browser tab and then close the Command Prompt window. Navigate to your webui-user.bat file and double-click it to relaunch Automatic1111.
Once Automatic1111 relaunches, click the txt2img tab.
Scroll down a bit towards the bottom of the screen and you should see a new ControlNet box. Click the expansion arrow on the right of the box. You should see all the ControlNet options. Good, the ControlNet extension has been installed successfully.
Now, scroll down to the Model selection box and drop down the model box. You should now see the canny and openpose models listed. Good, the ControlNet models have also been installed successfully.
Conclusion
Now you know how to easily and quickly install the correct ControlNet web UI extension, and ControlNet models into Automatic1111.
You’re now all set to start generating controlled images.
Anyway, hope you found this video helpful, and I’ll catch you in the next one.
Links
WebUI Extension for ControlNet:
https://github.com/Mikubill/sd-webui-controlnet.git
ControlNet Models:
https://huggingface.co/lllyasviel/ControlNet-v1-1/tree/main


