Fix Faces with ADetailer in Stable Diffusion Automatic1111

Introduction
Hello there and welcome!
In this video, I’m going to walk you through the steps to fix and improve faces using the Stable Diffusion ADetailer extension.
You’ll need to make sure that you have ADetailer and the best face models installed. If you don’t, then take a look at my ADetailer Install video. I’ll leave a link to that video in the description below for you.
I’ll be walking through everything on my Windows 11 PC, using a standard local install of Automatic1111.
So, let’s crack on.
Generate Base Image in txt2img
Let’s first generate an image, without using ADetailer, so that we’ve got a base image to work with.
Open Automatic1111.
We’ll select the txt2img tab.
I previously generated an appropriate image to use as our base image to save time, so I’ll drag that into the text prompt box and then click the small blue icon under the Generate button to populate the txt2img fields with the image parameters.
I used the AbsoluteReality SD 1.5 checkpoint, so we’ll make sure that’s selected.
Then we just hit the Generate button.
Let’s take a look at the generated image.
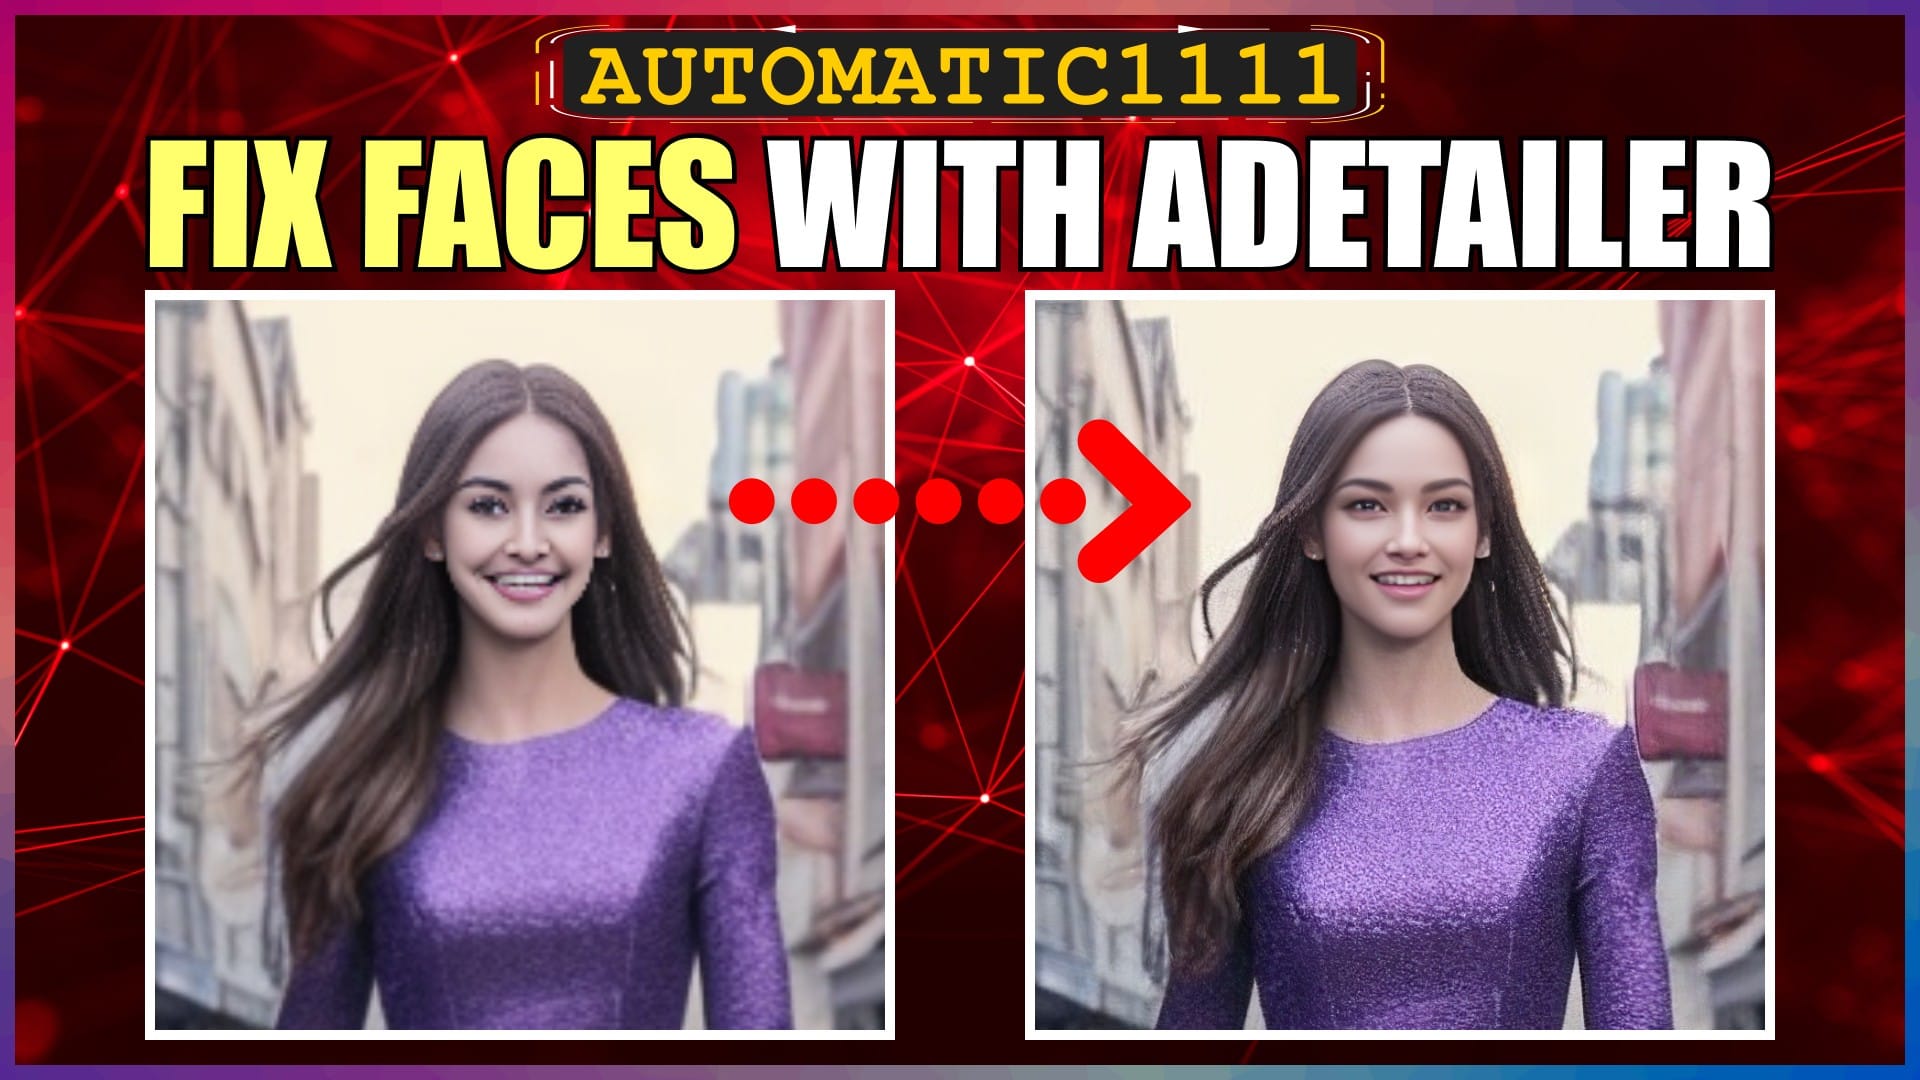
On the left we have the full image, and on the right, a zoom in on the face. With the zoomed in face, we can see the typical distortions and lack of clarity that AI tends to produce, when the face of a person is at a distance from the camera.
OK, now we know what we’re working with and what we need to fix and improve with ADetailer.
Improve Face with ADetailer
Back to Automatic1111.
We’ll leave all the base image generation parameters as they are, as we want to generate the same image, but just with an ADetailer fixed face.
Scroll down a bit to the ADetailer section.
Click on the expansion arrow to show the settings.
Make sure you tick the ADetailer checkbox at the top to enable it.
For the face model, I have better results with the YOLO models.
This is a comparison grid showing the original base image and then using the three different YOLO face models. In this instance, I prefer the overall result of the 8s model, so we’ll use that one.
Going back to the model selection, I’ll select the Face YOLO 8s model.
The text prompt boxes are next.
If you enter anything in the ADetailer prompt boxes, then these will apply only to the face.
I tend to get better results when I add in some basic prompts related specifically to the face. So, we’ll do just that.
For the positive prompt, we’ll add in: photorealistic, extremely detailed face.
For the negative prompt, we’ll add in: EasyNegative, deformed face, deformed eyes.
EasyNegative is a useful negative prompt embedding that I tend to use a lot. I’ll leave a link to it in the description below, if you want to take a look. If you want to use it, just download the safetensors file and save it in your stable-diffusion-webui then embeddings folder.
We’ll leave all the other ADetailer settings at their defaults, to see what we get without any further tweaking.
Now we just hit the Generate button.
Let’s take a look at the generated image.
As we can clearly see, there’s a huge improvement to the face. You can play around with the numerous additional settings in ADetailer to certainly improve on this result further.
The only other aspect of the final image that jumps out that needs improving is the overall sharpness and clarity of the image.
Let’s do a quick upscale to improve the final result.
Upscale ADetailer Image
Back to Automatic1111.
We’ll just do a quick upscale in the Extras tab.
Select the Extras tab.
We’ll drag in the last ADetailer image that we generated into the Source image box.
Make sure the Upscale checkbox is ticked and we’ll select the 4x NMKD Superscale as Upscaler 1. This upscaler tends to do a good job with retaining natural skin texture.
Whilst we’re talking upscalers, if you’re looking for the best resource for upscalers, then the Open Model Database is by far the best place. Just find the specific upscaler you want and download the .pth file into your stable-diffusion-webui, models, ESRGAN folder. If you don’t have an ESRGAN folder, then just create one in the models folder. I’ll leave the URL links to the Open Model Database and this 4x NMKD Superscale upscaler in the description below for you.
We’ll leave the Resize set at 4 times.
Then we’ll hit the Generate button.
Let’s take a look at all 3 images. We can instantly see that the final image is much better in terms of sharpness and clarity.
Now let’s take a look at a comparison between the original and the final image. The final result is a big improvement from where we started out with the original base image.
Conclusion
Now you know the basic steps to fix and improve faces using the Stable Diffusion ADetailer extension in Automatic1111.
Have a play around with the other ADetailer settings to improve your results further.
Anyway, hope you found this video helpful, and I’ll catch you in the next one.
Links
Install ADetailer in Stable Diffusion Automatic1111:
https://youtu.be/-MdTfo9Oyck
EasyNegative Embedding:
https://civitai.com/models/7808/easynegative
Open Model Database:
https://openmodeldb.info/
4x NMKD-Superscale Upscaler:
https://openmodeldb.info/models/4x-NMKD-Superscale
Paths
Put EasyNegative Embedding Here:
stable-diffusion-webui\embeddings
Put Upscalers Here:
stable-diffusion-webui\models\ESRGAN


