Install VisoMaster (Rope Live) Face Swap in 1-Click – Roop Unleashed Alternative

Introduction
Hello there and welcome!
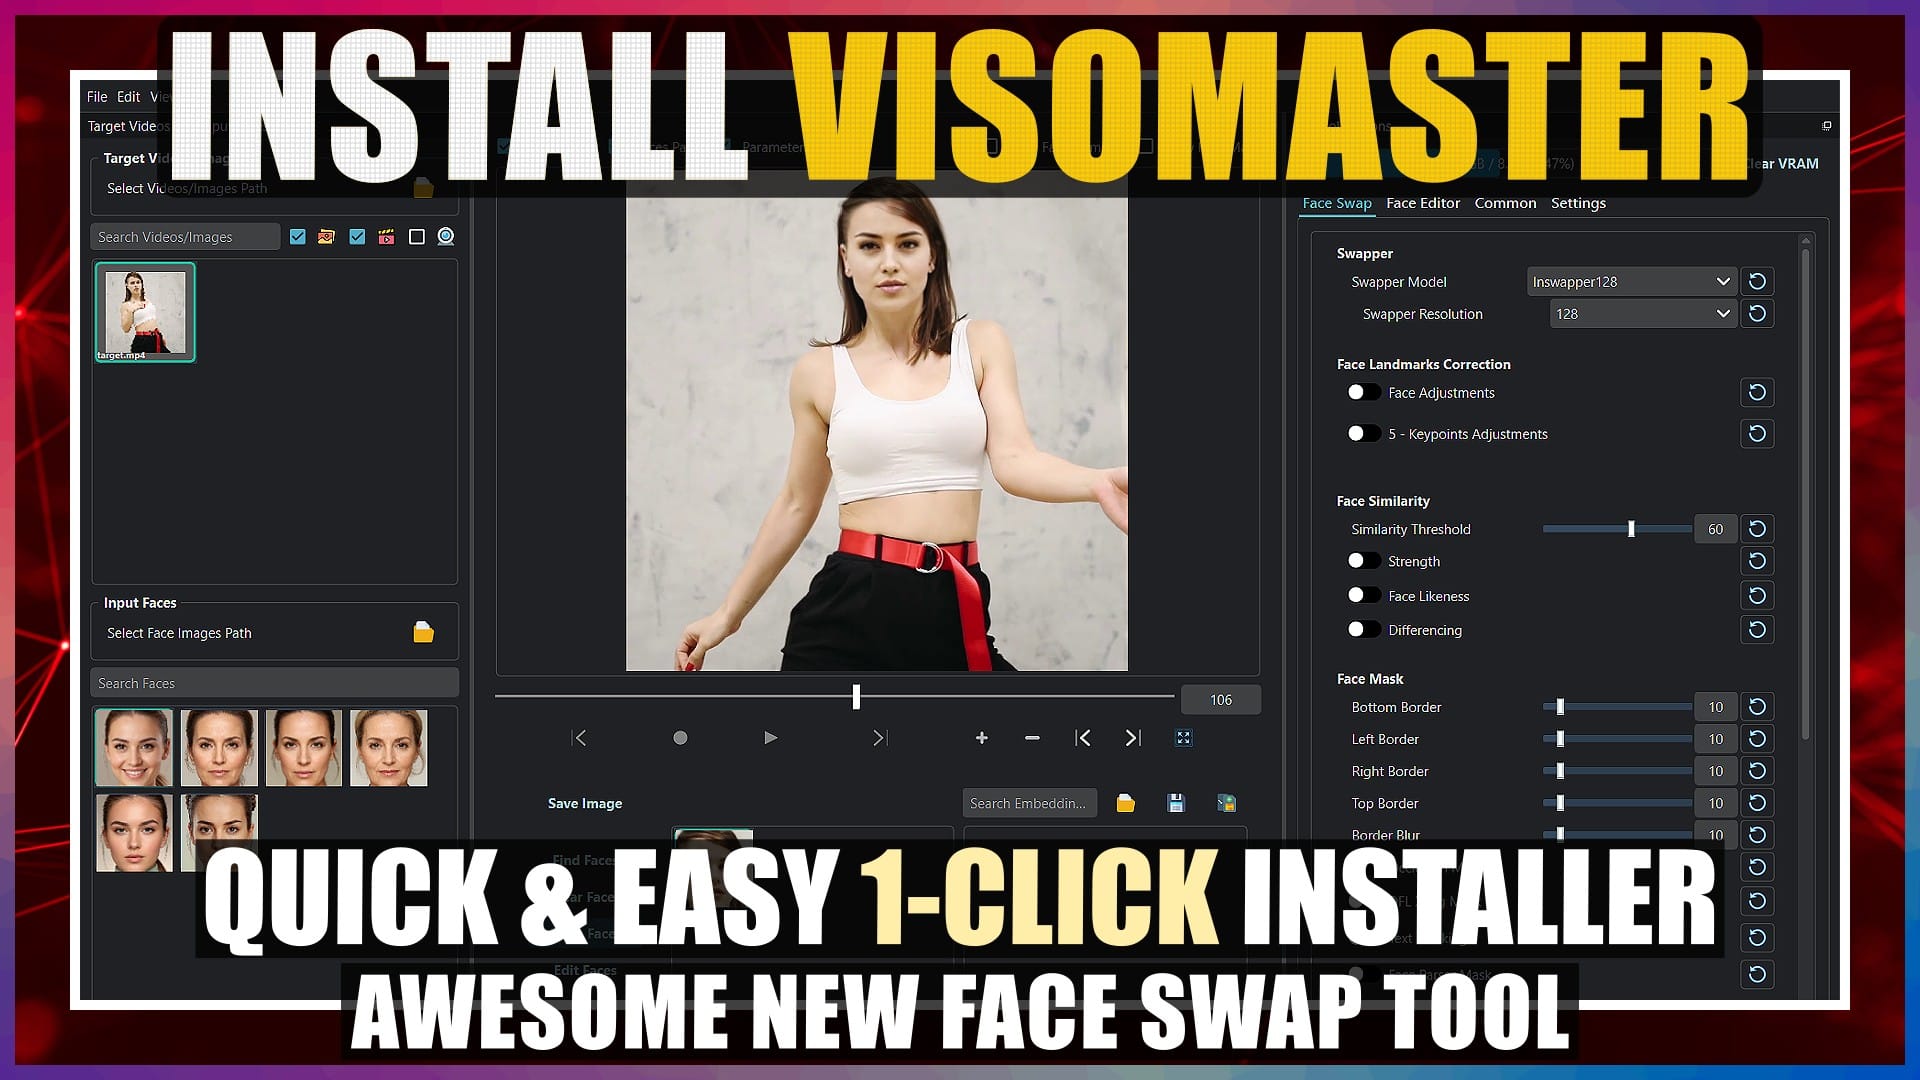
The previous hugely popular Roop Live face swap tool, has now been updated and rebranded as VisoMaster.
If you were caught out in the take-down of Roop Unleashed, then VisoMaster is a solid alternative, that’s being actively developed, with a host of additional improvements expected in the near future.
In this tutorial, we’ll walk through the quick and easy method to fully install VisoMaster, using the 1-click installer, so we can avoid all the manual install hassles, and just get straight on with using it.
Unfortunately, the VisoMaster 1-click installer only works for Windows PCs running a NVIDIA GPU.
I’ll leave all the links and references that I cover in this tutorial, in the Resources section at the end.
So, let’s crack on.
Download VisoMaster Installer
The first thing we need to do, is download the VisoMaster installer file.
We’ll open the GitHub page in our browser. We’ll scroll down a bit, to the “Automatic Installation (Windows)” section. Then we’ll click the “releases” link, to make sure we get the latest installer. The latest installer version is currently 0.1.1. We’ll scroll down a bit to the “Assets” section, and click the “VisoMaster_Setup.exe” file link. On the “Save As” window, We’ll navigate to my E drive, and click save, to save the file here. The file is fairly small, so it won’t take long to download.
Install VisoMaster
Once the file has finished downloading, we’ll navigate to my E drive, and we can see the downloaded “VisoMaster_Setup.exe” file in here. We’ll double-click this file to begin the installation process. If a Microsoft Defender SmartScreen warning window pops up, we’ll just click the “More info” text link, and then click the “Run anyway” button to begin the installation.
On the first install window, we’ll just click the “Next” button.
On the next “Location” window, you can leave it at the default install location, but I want to install VisoMaster in the root of my E drive, so we’ll click the “Browse” button, navigate to my E drive, then click “OK”. The correct PATH is now shown in the install location box. Then we click “Next”.
On the next “Components” install window, depending on our specific GPU model, we need to select the appropriate CUDA version. CUDA’s a technology that provides a speed boost for CUDA capable NVIDIA GPUs. You should note, that to run different versions of CUDA, you’ll need a minimum GPU driver version installed. For CUDA 11, you’ll need a minimum driver version of 452.39, and for CUDA 12, you’ll need a minimum driver version of 527.41. So make sure you update your NVIDIA driver if needed. I have an RTX 3070 GPU, so I’ll select the CUDA 12.4 option. We’ll also leave the next option checked to “Download All Models and Updates”. Then we just click “Next”.
On the Next “Install Confirmation” window, we’ll just click the “Install” button. This will kick off the process to download and install everything. Be warned, this stage of the install process will take a fairly long time to complete. You can always check the progress and status in the “Command Prompt” window that launches automatically.
Eventually, everything will complete, the Command Prompt window will close automatically, and the install window will display a “Setup has finished” message. We just click the “Finish” button.
Run VisoMaster
Now let’s run VisoMaster.
We’ll navigate to my E drive. In here, we can see the “VisoMaster” folder that was created during installation. We’ll double-click this folder to open it. In here, we can see a “Start_Portable.bat” file. We just need to double-click this file to launch VisoMaster. The Command Prompt window will open to run the launch process.
After a short while the latest version of VisoMaster will open. If the app opens, then congratulations, you’ve just installed VisoMaster successfully.
Conclusion
Now you know how to install VisoMaster the quick and easy way, using the Windows 1-click installer.
Anyway, hope you found this tutorial helpful, and I’ll catch you in the next one.
Resources
Links
VisoMaster GitHub Page:
https://github.com/visomaster/VisoMaster


