Napkin AI Tutorial – Text to Professional Visuals Instantly and Free

Introduction
Hello there and welcome!
Napkin AI is one of those actually useful AI tools.
If you’re like me, once you experience it, you’ll end up using it frequently, for so many different everyday personal and work related tasks.
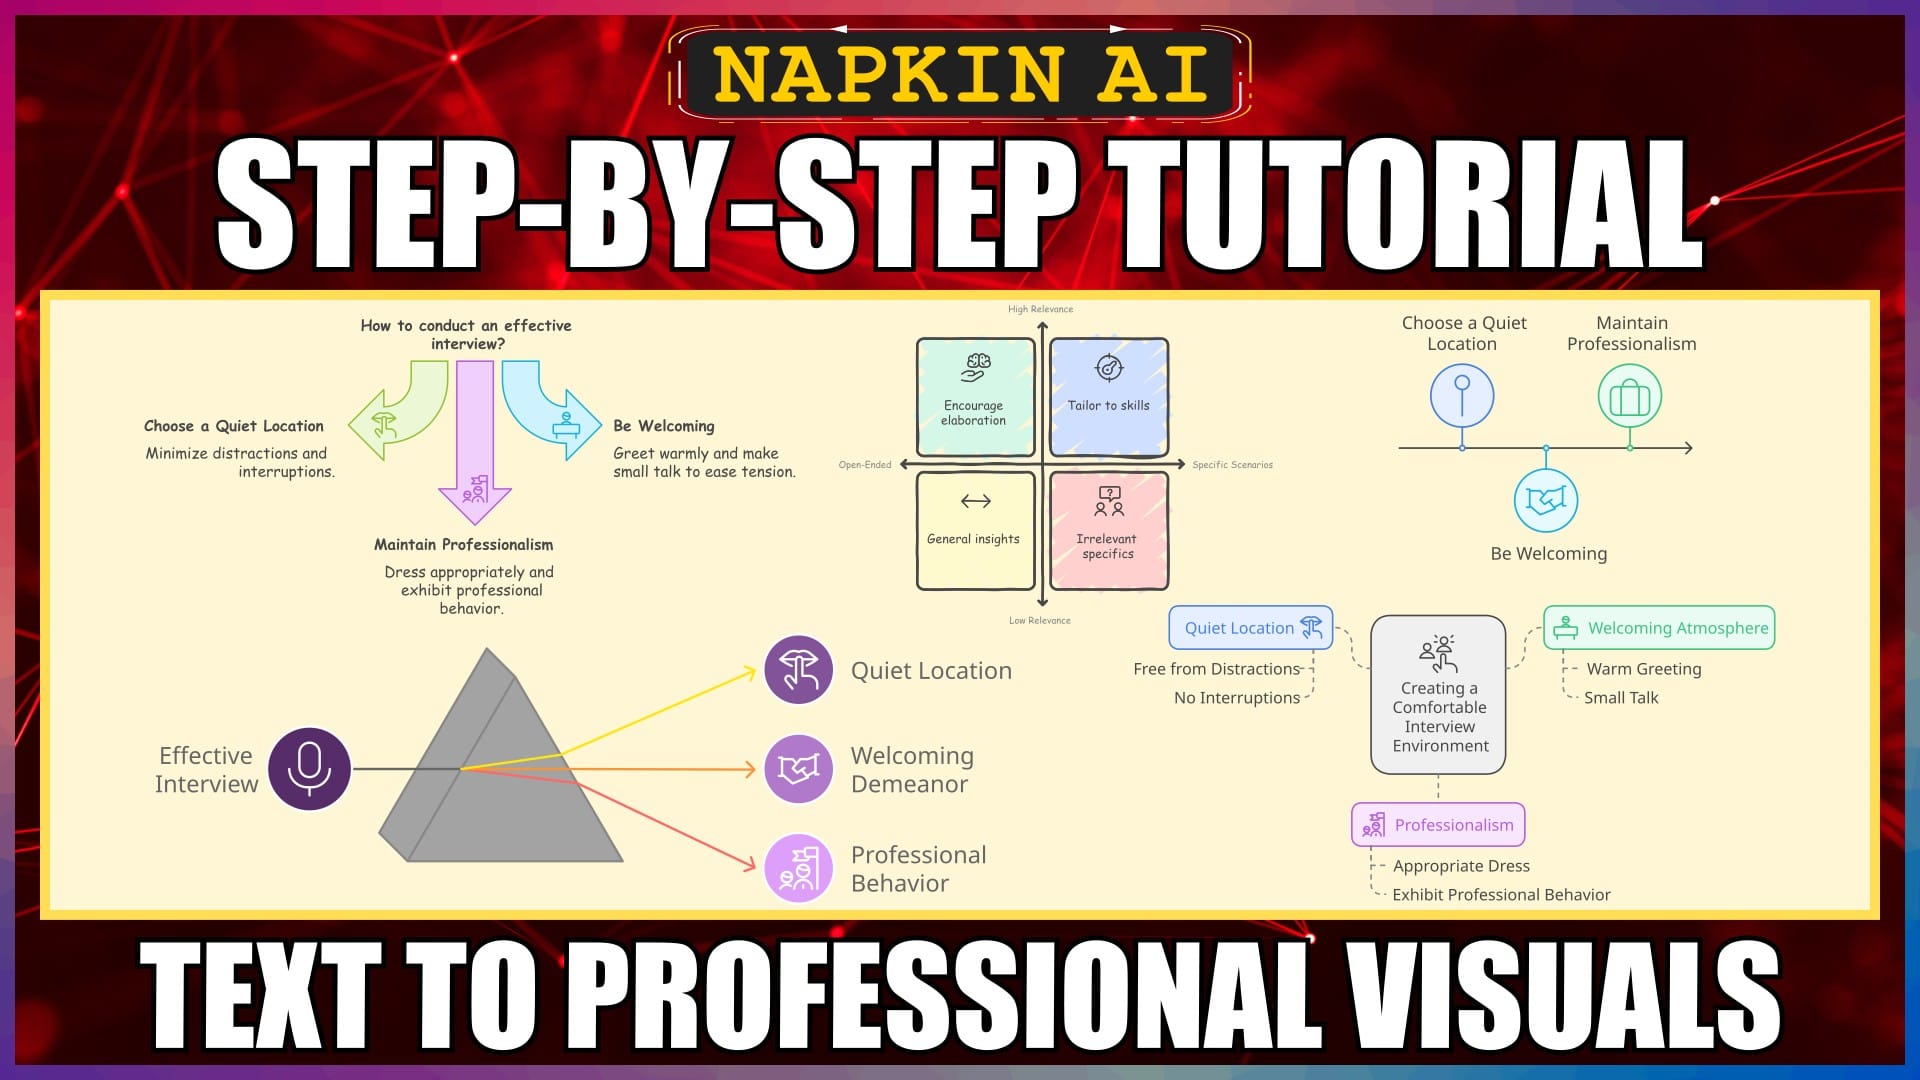
Napkin AI takes any text that you throw at it, and produces a whole variety, of professional and modern visual representations of it, that you can fully customise, including mindmaps, flowcharts, infographics, diagrams, data graphics, icons, and a whole lot more.
It even has an impressive AI text writer included, to produce the initial text for you, if that’s what you want to do.
If you need to visually spruce up, documents, presentations, blog posts, social media posts or really, ANY text content, then Napkin AI is way ahead of the competition, and it does it so easily and quickly. And best of all, it’s completely free.
Once you’re done creating, you can share the link to your finished creation, or download it in a variety of formats.
In this video, I’ll walk through all the key features, using a variety of examples, to get you up and running super quick.
So, let’s crack on.
Login to Napkin AI
Open the Napkin AI webpage in your browser. I’ll leave the URL link in the description below for you.
If we take a quick look at their pricing page, we can see they offer a limited “Starter Plan”, that will always be free, but more interesting, is the unlimited “Professional Plan”, which is also completely free at the moment. So it’s certainly worth jumping on now.
Anyway, let’s click on the “Get Napkin for Free” button, in the top right corner of the page.
If you haven’t created an account as yet, then just sign up with your email, or Google account.
Once you’re signed in, that’s it, you’re good to go.
Create a New Napkin using AI
Let’s first create a new napkin, which is basically a document, using the AI writer.
To create a new napkin, we’ll just click the “New Napkin” button in the middle of the page.
An options panel slides out, to create the new napkin, either with AI, or a blank napkin.
We’ll click the “Draft with AI” option.
If you’re used to any of the many AI text writing tools out there, then this interface will look very familiar and intuitive.
To generate our napkin document text, we just enter our text prompt in the box, and hit “Continue”.
For this demonstration, we’ll just go with the first example prompt, “The best practices for a hiring interview”, and then hit the “Continue” button.
It doesn’t take long to write the article.
So we now have our pretty standard, bland text only document.
It’s been nicely sectioned up, with a main title and an overview paragraph below, and then a number of sub-headings, with a description of the steps for each.
If you’re manually creating an entire text document, then this is a good structure to go with, for easy insertion of visuals later.
Create a New Napkin from Your Own Text
OK, now let’s take a quick look at how to create a new napkin, from our own text.
We can either use an entire text article, that we’ve created manually, or we can just use snippets of text to create visuals for, which is handy, if you’re just looking to create a quick graphic for a single slide presentation, for example.
I’ve created a complete article already, so we’ll use that.
We’ll click on the “New Napkin” button.
But this time, we’ll select the “Blank Napkin” option.
This will create a blank napkin for us to insert our text into.
We’ll copy and paste in the article text.
That’s all we need to do, to get our own text into a napkin.
Napkin AI Interface
Before we get into adding visuals to a text document, let’s take a quick look at the options available in the interface.
Towards the top left of the page, we have the “New Napkin” button, to create a new napkin, that we’ve already run through.
To the left of this we have our “Library”. If we click on this, we can see a list of all the napkins that we’ve created. We just need to click on one to load it. Let’s reload our first one that we created with AI. This then opens that napkin in our main pane, for editing.
Towards the top right of the page, we have a “Share” option. If we click on this, we can see that we can either share this entire napkin, by sending the URL link by email, or by copying the URL link. For link sharing, we can also set the permissions of viewing, commenting, editing and sharing. From here, we can also download the napkin to our computer.
To the right of the “Share” option, we have our profile picture. If we click on this, we can switch between the standard light interface theme and a dark one. Our current plan is also displayed. Then, at the bottom, is our sign out option.
Lastly, on the bottom right of the page, we have a help chat function.
Add Visuals to a Napkin
Let’s add some visuals to our AI generated napkin.
We can select or click on any section of text, and add a visual for it.
If we click on the first paragraph, we can see a small blue lightning bolt icon appears, to the left of the text.
We just need to click it, to generate a visual.
The text is analysed, and the visual is inserted below the text.
The selection panel on the left of the visual, allows us to scroll through, and select from the different visual suggestions.
Once we select one that we like, we can click the small “Style” arrow, to then select from a number of styles for that particular visual.
Again, we can scroll through the suggestions, and click the style that we want to insert.
A toolbar will appear above the selected visual, to edit the whole visual further.
We can change the font, colours, outlines and borders.
We can also click on the download icon, to download the visual. We can select the format, colour mode, background transparency and also the resolution.
Once we make our selections, we just click the “Download” button and save it to our computer.
If we just wanted to copy the visual, and then paste it straight into our document, we just click the “Clipboard” option.
If we wanted to only edit part of the inserted visual, we just click on that specific part, and an edit toolbar will pop out, allowing specific editing.
We can even click on the lightning bolt, to change the icons.
We can also download just that component of the overall visual, if we wanted to.
We can select and drag any component, to reposition it.
You’ll notice a “Comment” bubble to the right of the page. This is an especially useful feature, if you’re working in a team and sharing the napkin.
Just click the comment bubble and insert a comment.
You can also see another toolbar, that hovers at the bottom of the page.
This allows us to add icons, labels, a hand drawn sketch, or insert an image from our computer.
If you make a mistake, there’s an “undo” button, in the top left corner of the page.
Conclusion
Now you know how to use Napkin AI to create professional visuals for text content, easily and quickly.
Anyway, hope you found this video helpful, and I’ll catch you in the next one.
Links
Napkin AI:
https://www.napkin.ai


