8K Upscale with Ultimate SD Upscale in Stable Diffusion Automatic1111

Introduction
Hello there and welcome!
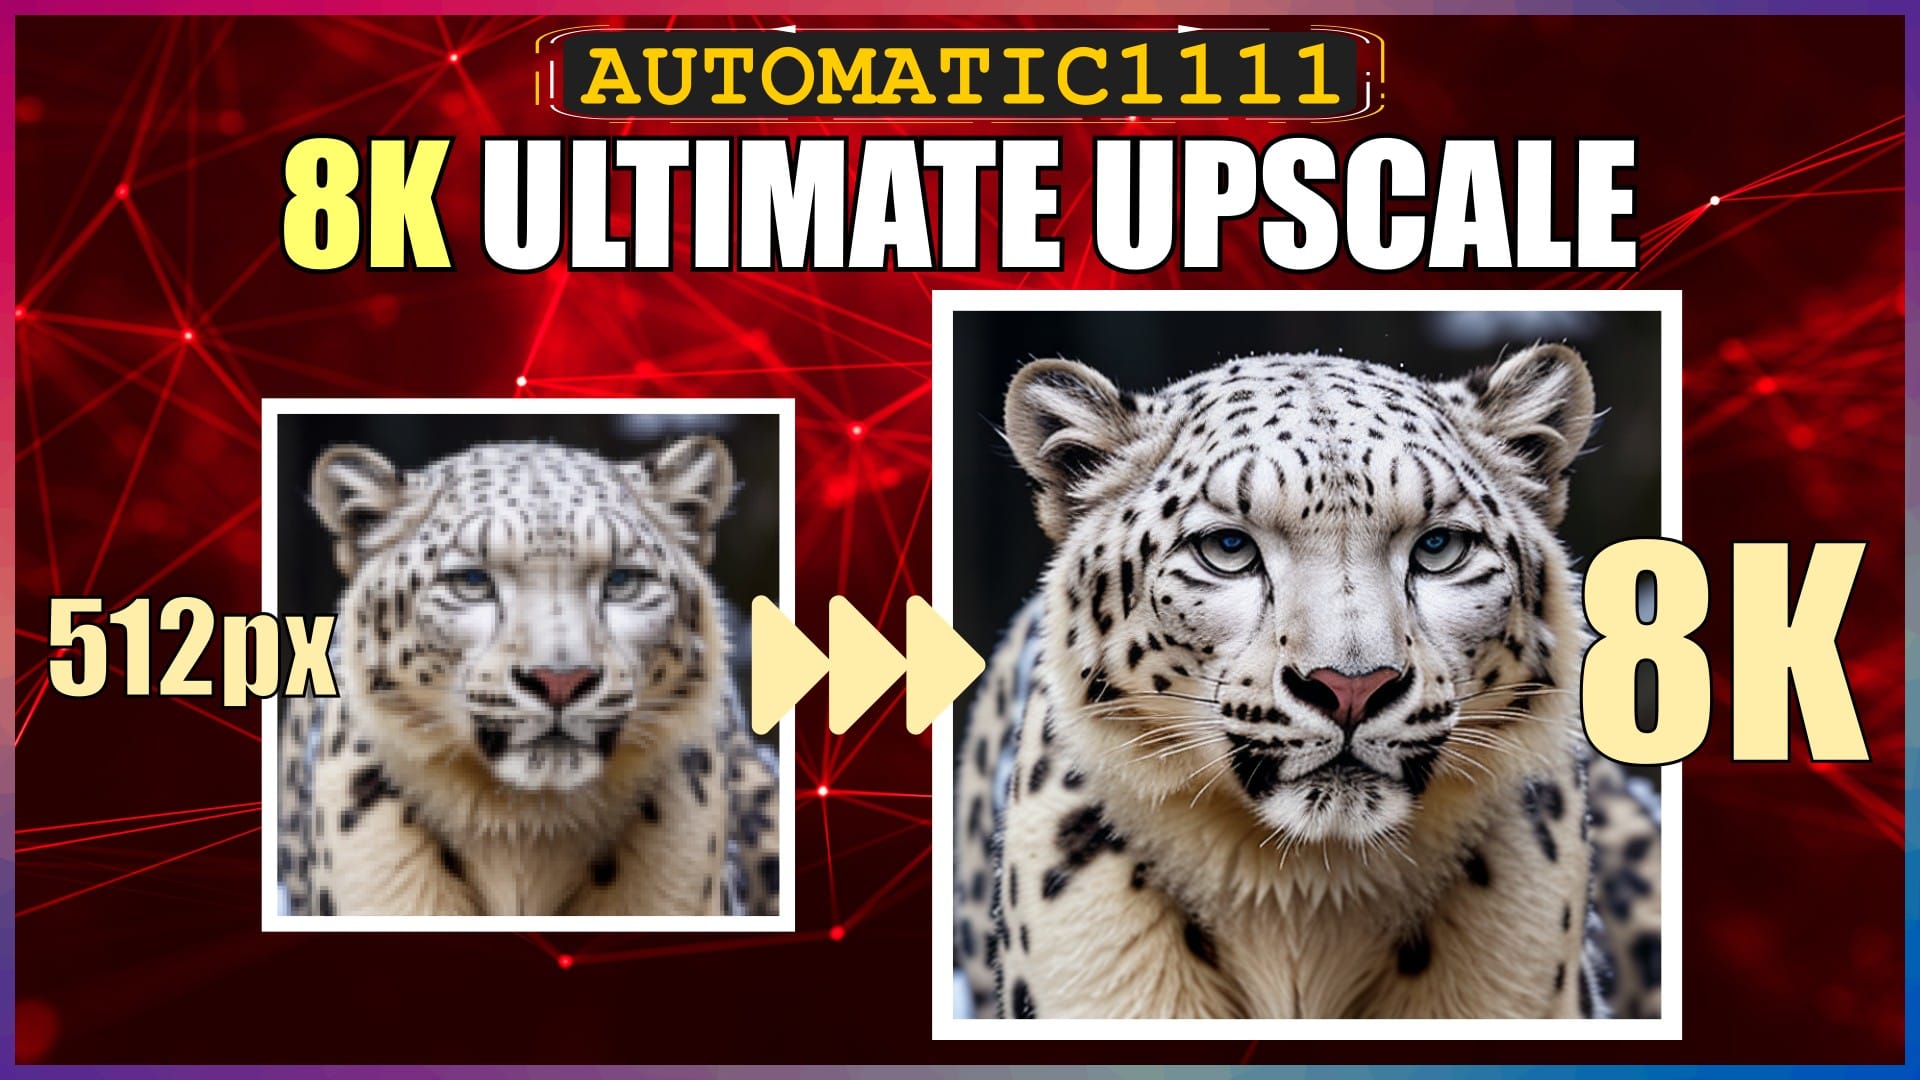
In this video, I’m going to walk you through the steps to upscale a 512px image to 8k resolution, using the Stable Diffusion Ultimate SD Upscale extension.
The Ultimate extension is a newer and improved version of the SD Upscale extension that comes bundled as default with Automatic1111.
Upscaling images with Ultimate SD Upscale is still one of the easiest and most popular ways to produce super high quality upscaled images.
I’ll be walking through everything on my Windows 11 PC, using a standard local install of Automatic1111.
So, let’s crack on.
Install Ultimate SD Upscale Extension
The first thing we need to install is the Ultimate SD Upscale extension.
I’ll leave the link to the extension’s GitHub page, if you want to read more about its details.
Open Automatic1111.
Select the Extensions tab, then the Available sub-tab.
Click the orange Load from button, to load the full list of available extensions.
In the search box, type in “ultimate” and you should see the Ultimate SD Upscale extension shown in the filtered list.
Click on the Install button to the right of it.
Once the installed confirmation message appears below the search box, select the Installed sub-tab and then click the orange Apply and restart UI button to complete the installation and restart Automatic1111.
OK, that’s the extension installed, let’s move on to doing some upscaling with it.
Generate a Base Image
Back to Automatic1111.
I previously generated a good example test image to use for this walk-through, so we’ll regenerate it and use it as our base image.
We’ll select the txt2img tab.
Then we’ll drag our image into the text prompt box.
We need to make sure that we use the exact same checkpoint. In this case I used a SD 1.5 checkpoint model named WildLifeX – Animals. I’ll leave a link to this checkpoint in the description below for you, in case you want to take a look at it.
We’ll make sure that checkpoint is selected in the checkpoint box at the top.
We’ll hit the small blue icon below the Generate button to populate the txt2img fields with our image parameters.
Then we just hit the Generate button.
Let’s take a closer look at our generated base image.
It’s a decent 512px image, but obviously pretty blurry if we zoom in.
We’ll fix this with upscaling.
2K Ultimate SD Upscale
Let’s first use Ultimate SD Upscale to upscale the image from 512px to 2K, which is a 4x upscale.
We’ll go back to the txt2img tab in Automatic1111.
Below the generated image, we’ll click the image icon to send the image to the img2img tab.
If you’re just loading in a new image to the img2img tab, then make sure you select the same checkpoint that was used to generate the image.
Since we’re just going to be upscaling the image, we don’t need the image generation text prompts, so we’ll delete the prompt and negative prompt.
We’ll scroll down a bit to the main settings.
Resize mode, we’ll leave at “Just Resize”.
Sampling Method, we’ll leave at the preset original image generation method.
Sampling steps, we’ll bump this up from 20 to 50 to increase the quality of the image. Obviously, this will increase the processing time and increase the load on our GPU.
Resize to and by, we’ll just ignore, as we’ll control the resize with Ultimate SD Upscale.
Batches, we’ll just leave at 1 each, for a single image.
CFG, we’ll leave at the 7 that we used to generate the original image.
Denoising, we’ll reduce this to 0.1 to keep a higher similarity with the original image.
Seed, we’ll leave as the original image seed.
Next, we’ll scroll to the bottom, to the Script section, drop it down and select Ultimate SD upscale.
This will open the extension’s settings below.
Target size type, we’ll select Scale from image size, to read the image size directly from the source image box, and then select 4 for the scale factor, to scale by 4 times from 512px to 2K.
Upscaler, we’ll select the 4x NMKD Superscaler. This is my preferred upscaler, as it produces natural looking finer details, and is especially good for very natural looking skin texture in photorealistic images.
Whilst we’re talking upscalers, if you’re looking for the best resource for upscalers, then the Open Model Database is by far the best place. Just find the specific upscaler you want and download the .pth file into your stable-diffusion-webui, models, ESRGAN folder. If you don’t have an ESRGAN folder, then just manually create one in the models folder. I’ll leave the URL links to the Open Model Database and this 4x NMKD Superscale upscaler in the description below for you.
Anyway, back to the settings. We’ll leave the remaining settings at their defaults, which you can see on the screen.
Then we just hit the Generate button.
Upscaling from 512 to 2K doesn’t take very long.
OK, that’s the 2K image generated. We’ll take a closer look at it in a bit.
8K Ultimate SD Upscale
Let’s now upscale the 2K image to 8k, which again is a 4x upscale.
Still on the img2img tab.
We’ll click the X in the top right corner of the source image box to clear the previous 512px image.
Then we’ll drag the newly generated 2K image from the generation image box to the source image box.
We’ll scroll down to the Resize to section to just check we do in fact now have the 2K image as our source image, by clicking the autodetect icon.
The 2K image width and height are now correctly shown, so we’re good to go.
We’ll leave all the settings the same as we used for the previous upscale to 2K.
We then just hit the Generate button.
Upscaling from 2K to 8K takes a fair while longer.
OK, that’s the 8K image generated.
Image Comparison: 512px vs 2K vs 8K
Let’s compare the original image with the 2K and 8K upscaled images.
We have the original on the left, the 2K in the middle, and the 8K on the right.
At similar sizes, they all look pretty decent.
If we zoom in on the images, we can start to see the differences and higher detailed quality as we move through the higher resolutions.
The detail that’s been retained and enhanced in the 8K upscale is excellent in terms of quality, and usually better than other upscale methods.
Conclusion
Now you know how to upscale a 512px image to 8K resolution using the Stable Diffusion Ultimate SD Upscale extension.
Have a play around with some of the different settings that may produce improved results, depending on your original image. Also have a play around with different upscalers that tend to produce different types of results, to find the one that you prefer.
Anyway, hope you found this video helpful, and I’ll catch you in the next one.
Links
Ultimate SD Upscale Extension:
https://github.com/Coyote-A/ultimate-upscale-for-automatic1111
WildLifeX – Animals SD 1.5 Checkpoint:
https://civitai.com/models/262239/wildlifex-animals
Open Model Database:
https://openmodeldb.info/
4x NMKD-Superscale Upscaler:
https://openmodeldb.info/models/4x-NMKD-Superscale


